Sharpening can make existing edges easier to see. It can also exaggerate grain and create bright or dark outlines. A useful setting depends on the source and viewing size, rather than one universal amount.
TESTED WORKED EXAMPLE
What this session produced
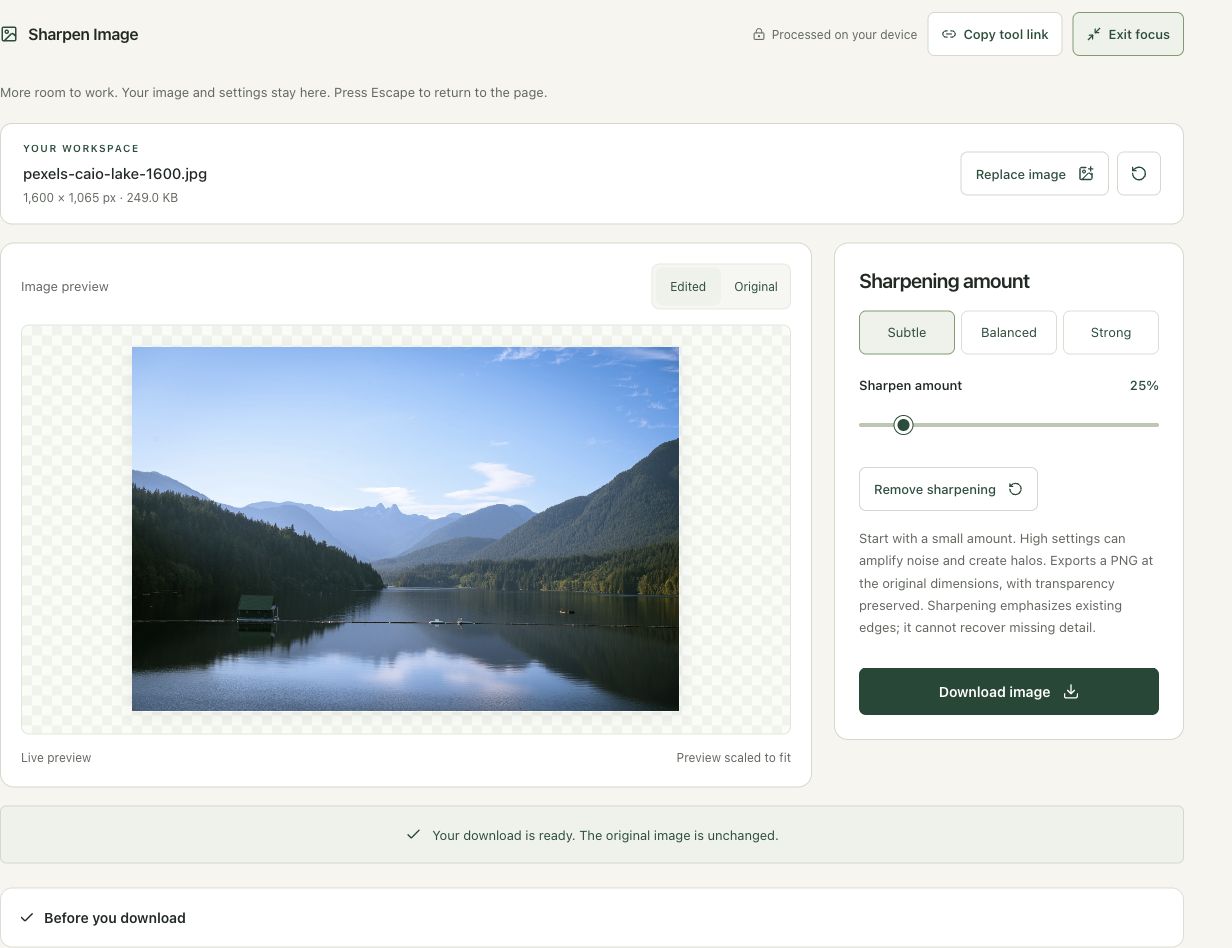
The Subtle preset applied 25% sharpening to the 1,600 × 1,065 lake photo. The result was exported as PNG at the same dimensions. This emphasizes existing edges rather than recovering missing subject information.
The screenshots were captured from our working tools on October 6, 2026. Focus workspace is used to give the controls and preview more room. Captures show either the full workspace or the relevant panel; they are not recreated interface illustrations. Sizes and outcomes describe this sample, not a promised result for every image.
Follow the worked example, step by step
Read the settings and the result together. Keep an untouched source when a file is edited, and check the finished output before using it in another application. Each numbered step below includes a real screenshot of the corresponding workspace state. Use the full-size link when a control label is too small on your screen.
Step 1: Open Sharpen Image with a clear comparison goal
Open Sharpen Image. Decide whether the source needs modest edge emphasis after resizing or whether it is genuinely out of focus. These are different problems. Keep the original and avoid treating a high amount as a substitute for a sharp source. The tool exports at the original dimensions, so sharpening does not itself enlarge the photograph.
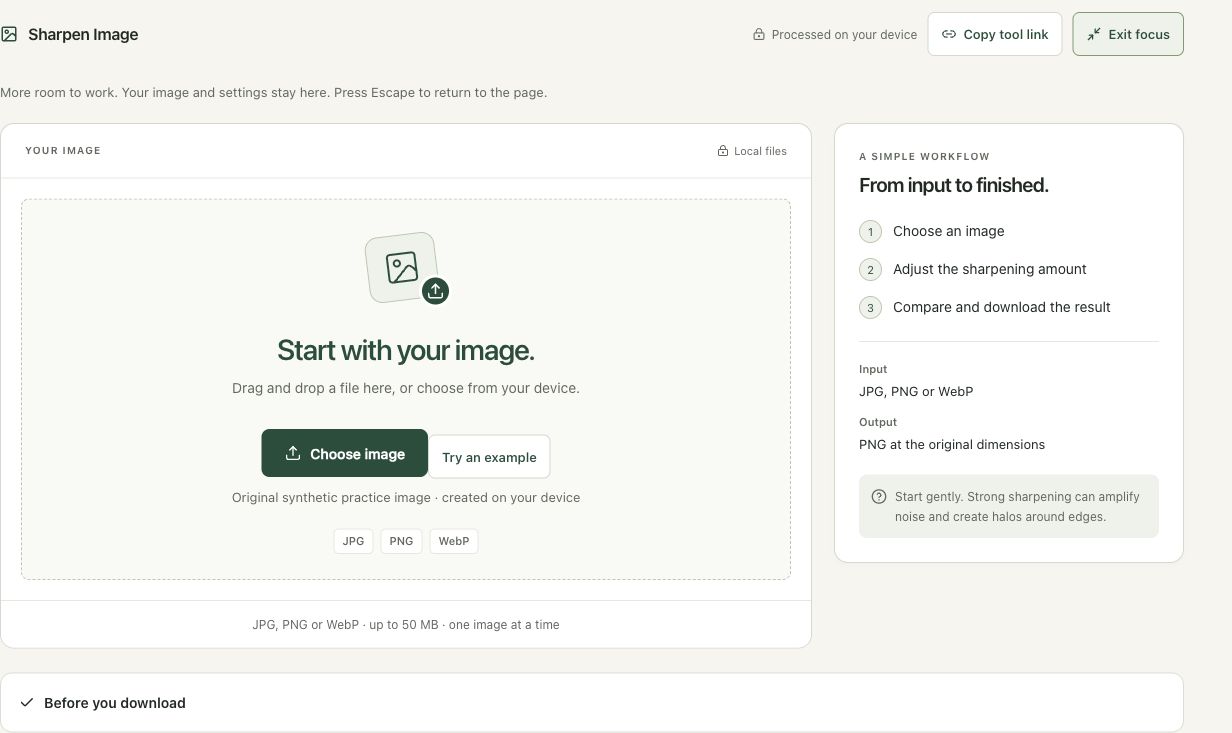
Step 2: Load the photo and review the initial amount
Choose the lake JPG. The initial amount is 75%. Inspect the shoreline, trees and mountain boundary, then compare Original and Edited. A preview fitted to the page can hide fine halos. Establish a baseline before choosing another preset so the effect is judged against the source rather than against the previous edited version.
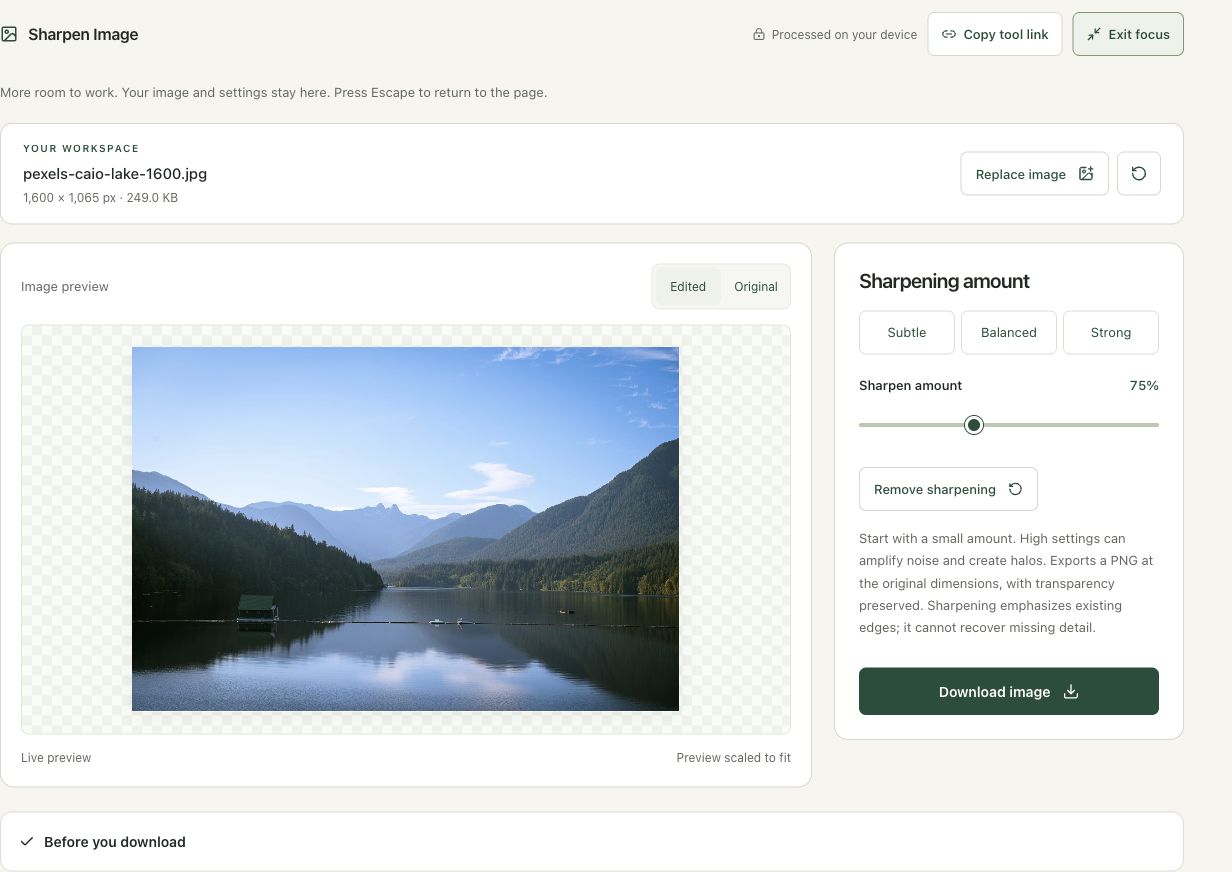
Step 3: Choose Subtle for a restrained example
Choose Subtle, which sets the amount to 25%. Review edges and smooth areas together: a setting that improves one area may amplify noise in another. The amount is an editing parameter, not a percentage of recovered detail. Use the smallest useful adjustment for the actual destination instead of making every edge conspicuous.
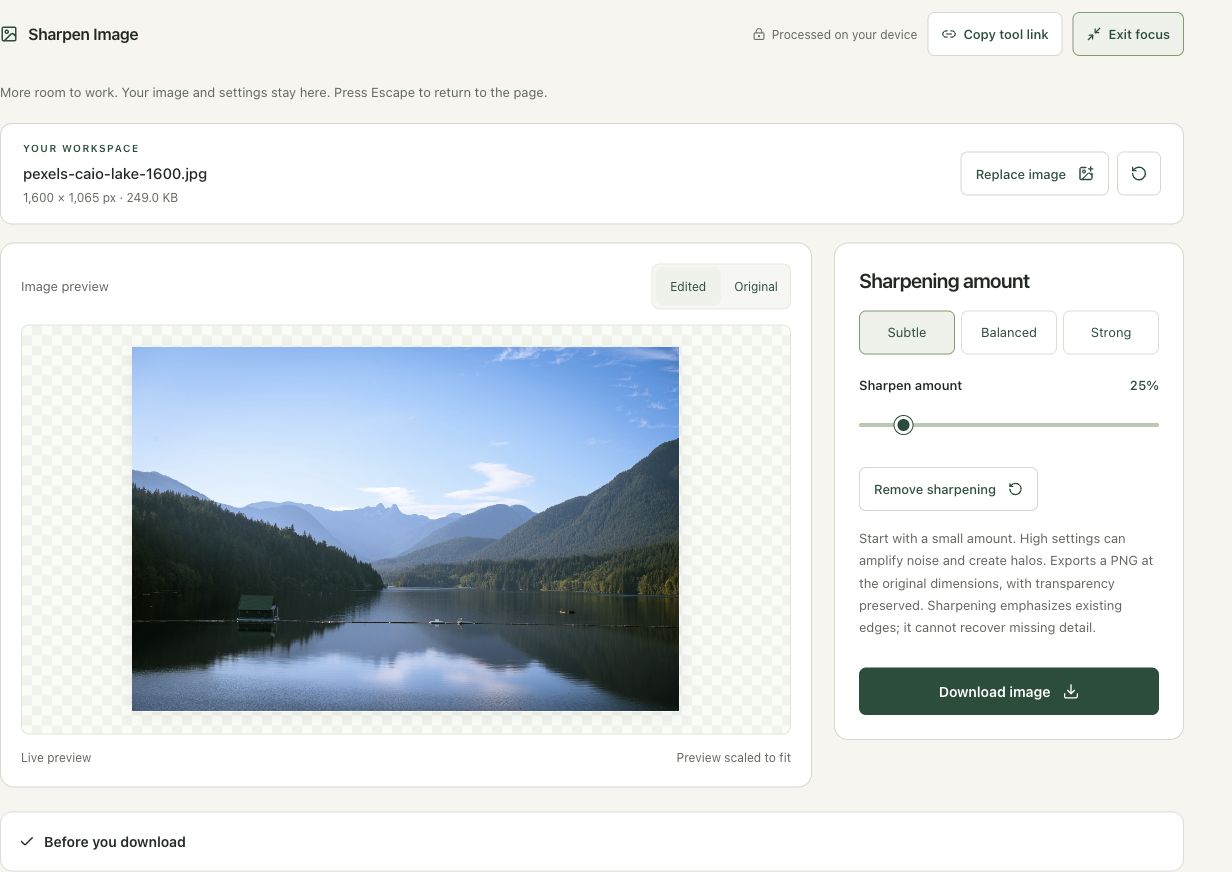
Step 4: Download and check the PNG at actual size
Choose Download image and wait for completion. The PNG retains 1,600 × 1,065 dimensions. Inspect it at actual size as well as at the final presentation size. If edges show bright outlines or textures become gritty, return to the original and use a lower amount. Repeated sharpening passes are harder to assess than a single controlled edit.
Check the result before using it
Inspect mountain silhouettes, leaf edges and smooth sky at actual size. Halos can be more visible near high-contrast boundaries, while noise can become more obvious in flat areas. Compare with the original at the intended display size.
If the result is not what you expected
Strong sharpening can look impressive in a fitted preview while producing harsh edges in the download. Return to a smaller amount or Remove sharpening. If the picture needs more pixels, that is a separate resizing or AI-enlargement decision.
Background and practical details
Decide whether the source can benefit
Open Sharpen Image with a JPG, PNG or WebP. Choose a source that already contains the detail you want to emphasize. Mild softness after resizing can respond to a small amount of sharpening. Severe motion blur, missed focus and text that was never resolved are different problems.
Sharpening changes edge contrast in the available pixels. It does not recover the original information that a camera or an earlier edit lost. If you have a sharper source, use it. If the main problem is insufficient output dimensions, consider AI Image Upscaler separately and verify its reconstructed details rather than treating them as a record of the original.
Prepare the final dimensions first
Make a separate working copy and settle its intended dimensions before judging sharpening. A preview reduced to fit a screen can hide noise and thin halos. Conversely, an enlargement well beyond actual size can make ordinary pixel edges appear severe. Inspect both at actual size and at the size your audience will see.
If you need a smaller picture for a page or a form, use Resize Image first and sharpen that output. Retain the untouched high-resolution source. Repeatedly sharpening a previous sharpened export can compound the effect and make it harder to find a natural-looking result.
The Strong preset uses 100. A stronger setting is not automatically more professional. The amount control changes the processing intensity; it does not express the percentage of missing detail recovered. Use the original as a reference and keep your inspection location consistent between comparisons.
Recognize unwanted artifacts
Look for bright outlines on the light side of a dark edge, dark rims around pale shapes, exaggerated speckles in skin or sky, and rough punctuation around text. These are reasons to reduce the amount. A picture can look striking when shrunk to a thumbnail while looking harsh at its final display size.
Pay special attention to images that already contain JPG artifacts. Sharpening can emphasize block boundaries and ringing along high-contrast edges. It cannot distinguish every unwanted compression artifact from an important feature. If a stronger export looks worse in a smooth area, the gentler version is often the more useful choice.
Verify the downloaded result
This tool exports PNG at the source dimensions and preserves transparency. That does not mean its pixel colors are unchanged: sharpening deliberately modifies them. PNG also does not guarantee a smaller file than the original JPG. Check the final byte count if you have an upload limit.
Pixel-based image work uses color channels such as those described in MDN’s ImageData reference. Open the actual PNG and inspect the same details you judged in the preview. Use Image Compare for a consistent before-and-after comparison, and Compress to Size if a separate file-size requirement remains. Recheck edge quality after any later lossy export.
Keep an untouched source and inspect the downloaded result. If an instruction differs from the workspace, send the page URL and the setting involved. Our editorial policy explains how we review examples and limitations.
Example sources and screenshot notes
The example uses a resized 1,600 × 1,065 copy of Lake surrounded by green mountains by Caio.
These photographs are used under the Pexels license. They are licensed images, not claimed as public domain. The photographer links identify the original sources; resizing and example processing were performed for this tutorial.
The controls shown are from the version tested for this guide. A later interface update or a different source can change a result. Compare the displayed format, dimensions and status with the instructions, and report a mismatch with the article URL and the setting involved. Our editorial policy explains how examples and corrections are reviewed.
Find the right tool for your image.
Explore the free workspaces, read their methods and inspect your result before sharing.
Explore image tools