A circular profile picture still lives inside a rectangular image file. The visible circle is created by transparent corners, and its final appearance depends on the background and crop applied by the receiving application.
- The tested example
- Step 1: Open Circle Crop and decide the avatar size
- Step 2: Load the portrait flower and inspect the default circle
- Step 3: Set 400 pixels and make a small zoom adjustment
- Step 4: Download the PNG and inspect the transparent corners
- Check the result
- Troubleshooting
- Background and practical details
- Example sources
TESTED WORKED EXAMPLE
What this session produced
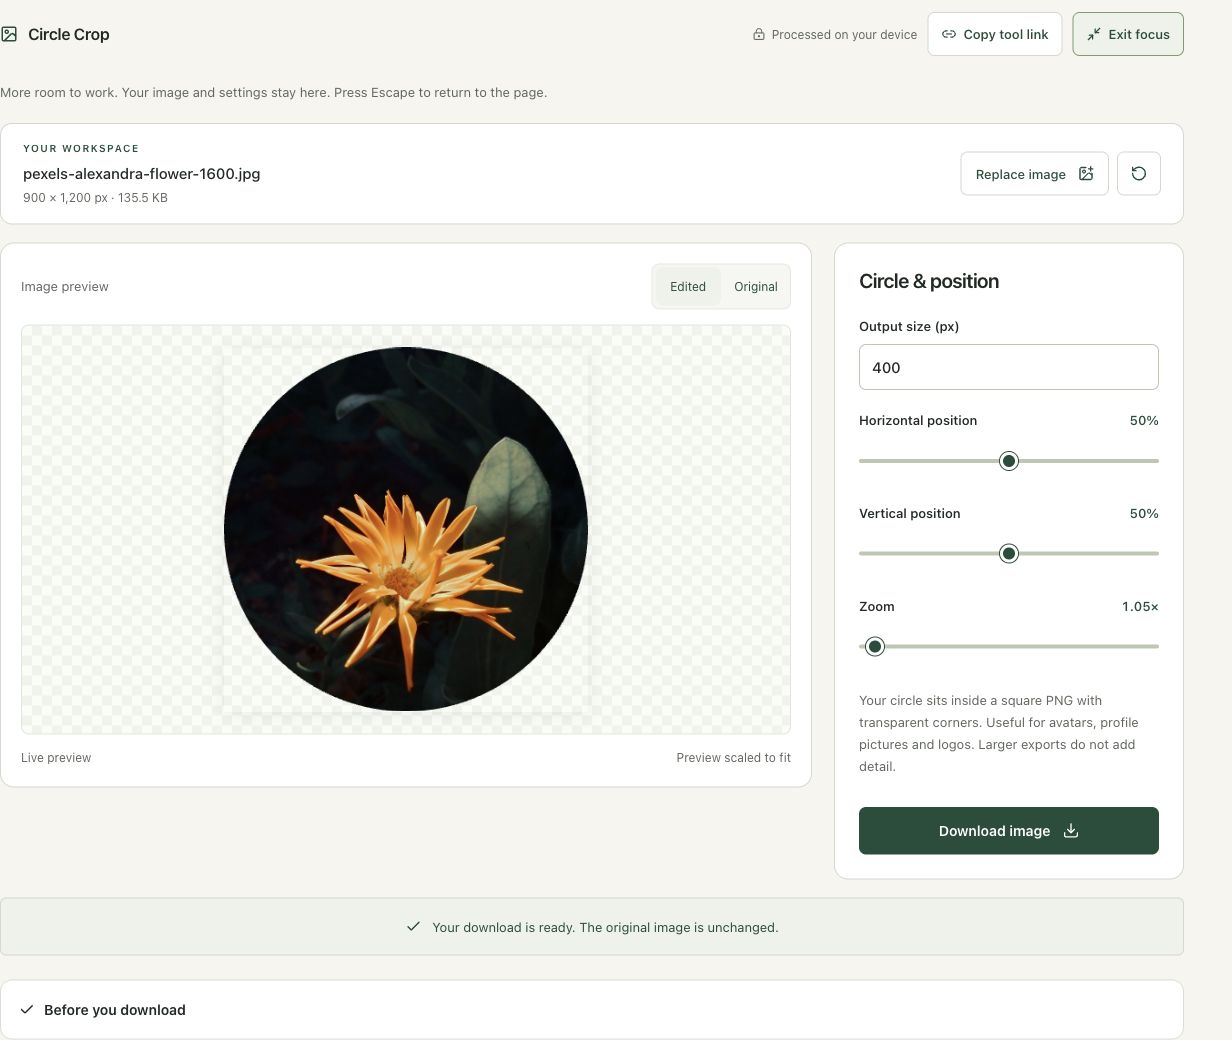
The 900 × 1,200 flower photograph became a 400 × 400 PNG with transparent pixels outside a centered circular crop. Zoom was 1.05× in the final example.
The screenshots were captured from our working tools on October 6, 2026. Focus workspace is used to give the controls and preview more room. Captures show either the full workspace or the relevant panel; they are not recreated interface illustrations. Sizes and outcomes describe this sample, not a promised result for every image.
Follow the worked example, step by step
Read the settings and the result together. Keep an untouched source when a file is edited, and check the finished output before using it in another application. Each numbered step below includes a real screenshot of the corresponding workspace state. Use the full-size link when a control label is too small on your screen.
Step 1: Open Circle Crop and decide the avatar size
Open Circle Crop. Check the destination’s pixel requirement and whether it accepts transparent PNGs. The tool creates a circle within a square image, so the outside corners rely on alpha transparency. Keep the original portrait or photograph for other uses, since this output intentionally removes content outside the selected circular composition.
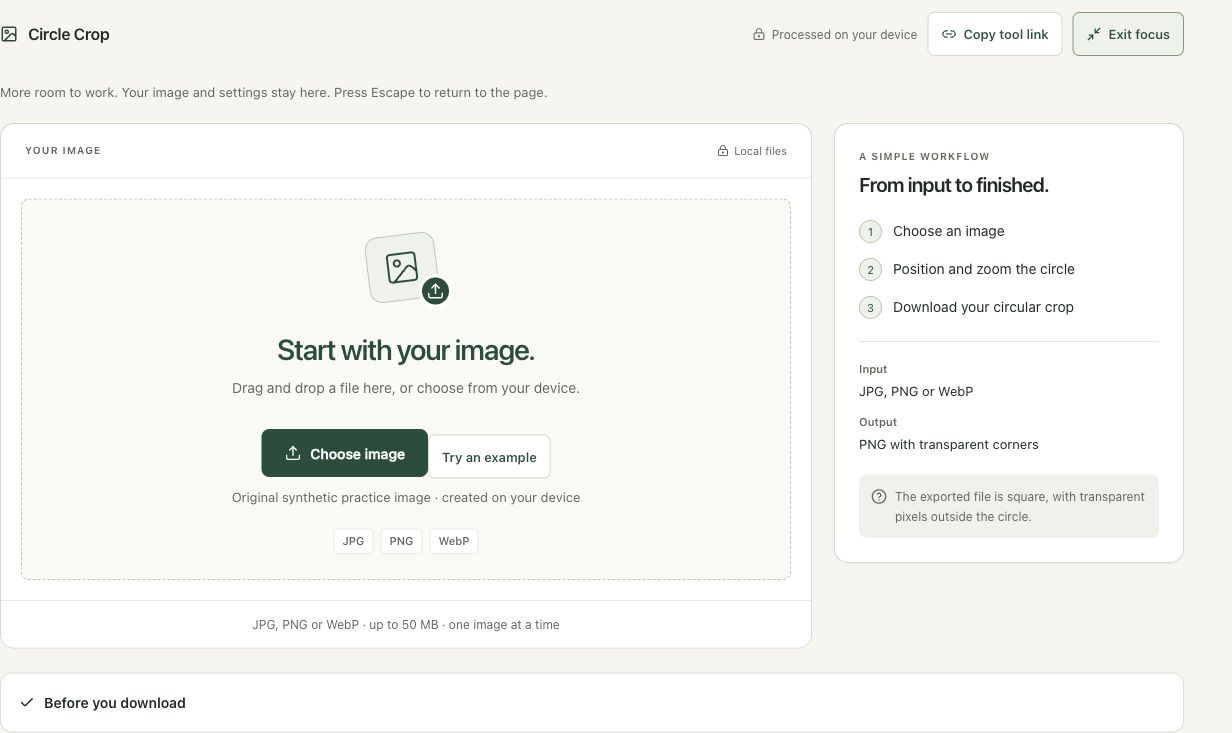
Step 2: Load the portrait flower and inspect the default circle
Choose the 900 × 1,200 flower image. The default output is 512 pixels with centered position and 1× zoom. Review the petals near the circular edge. A central subject can still lose detail when a portrait is cropped to a square and then masked into a circle. Use the fitted preview to establish the composition before choosing the final size.
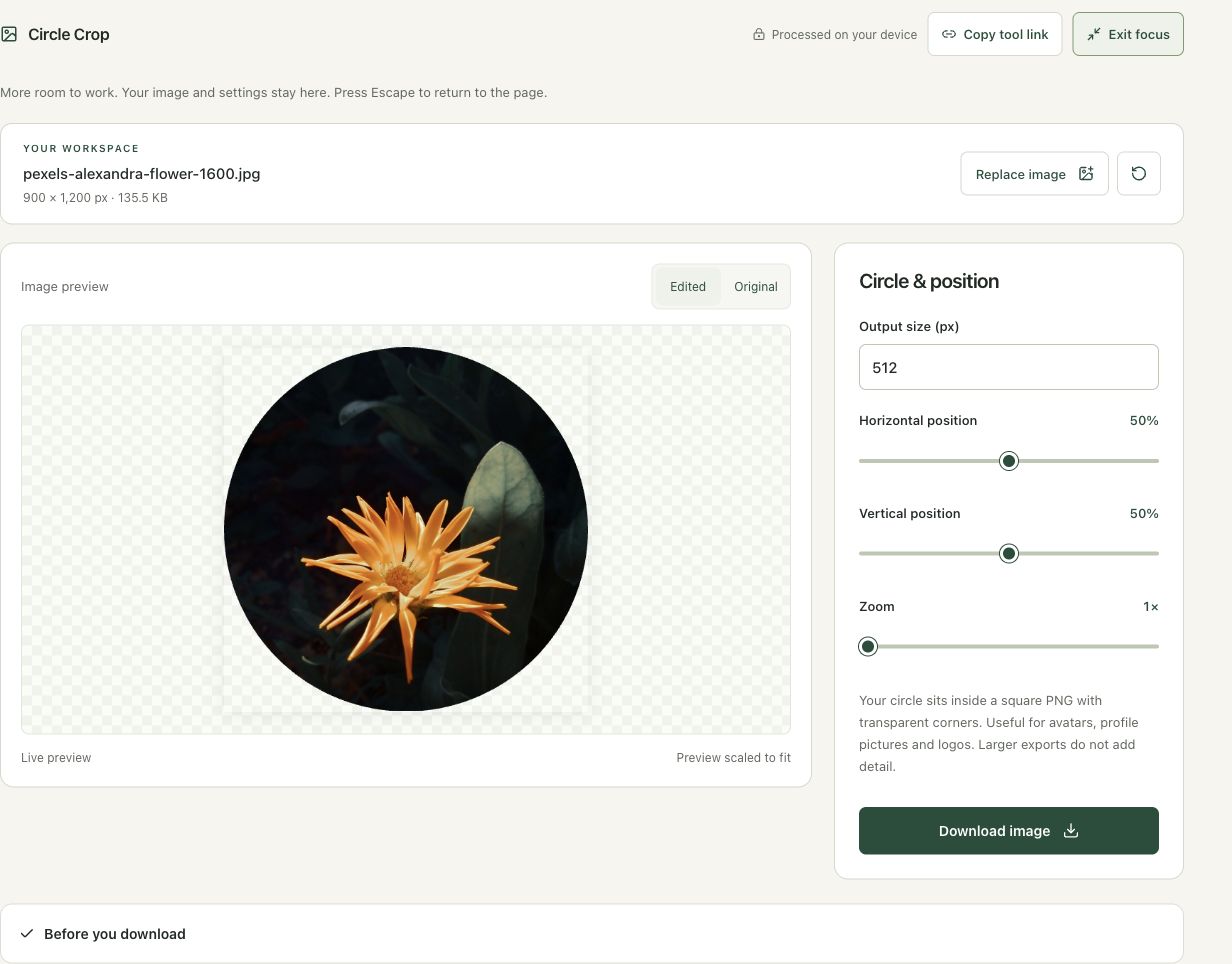
Step 3: Set 400 pixels and make a small zoom adjustment
Enter 400 in Output size. Increase Zoom to 1.05× and keep horizontal and vertical position at 50% for this example. A small zoom changes what remains near the edge without changing the file’s square dimensions. Check the flower’s outline after every framing change; these values are an example rather than a preset suitable for all subjects.
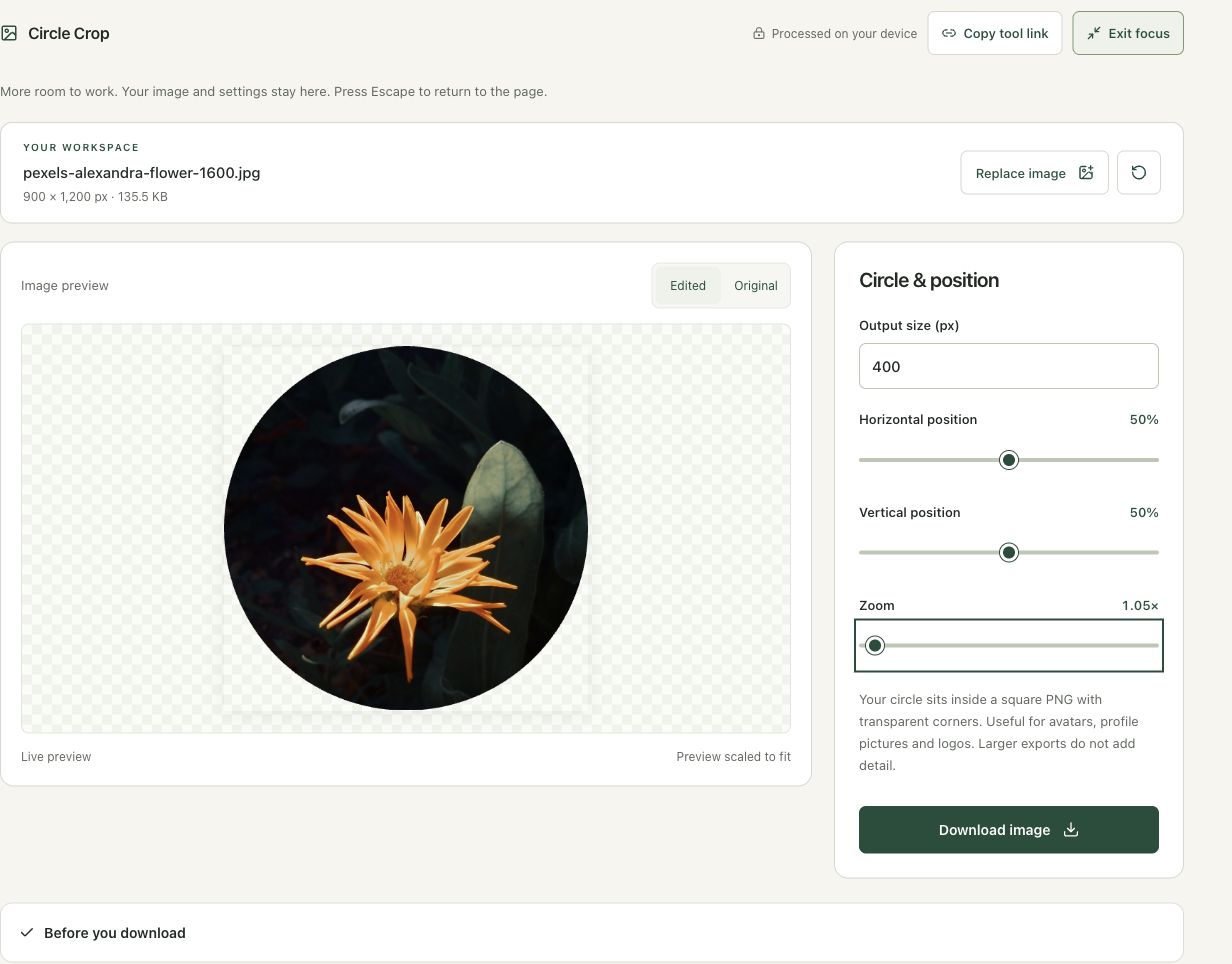
Step 4: Download the PNG and inspect the transparent corners
Choose Download image and wait for completion. Open the 400 × 400 PNG over a contrasting background to check the transparent corners and the circular edge. If a viewer uses white as its default backdrop, use Transparency Checker to distinguish real alpha from white pixels. Keep PNG for a destination that needs the corners to remain transparent.
Check the result before using it
Inspect the circle on both light and dark backgrounds. The file is a square raster grid containing a circle, not a non-rectangular file. Check that the destination preserves alpha and does not place a different crop over the result.
If the result is not what you expected
JPG cannot preserve transparent corners. A larger output size adds pixels without recovering detail. Tightening zoom can cut important petals or facial features; position and zoom should be checked together.
Background and practical details
Choose an image with room around the subject
Start from an original photograph where the subject is clearly focused and has space around the face or object. A circle removes more corner content than a square crop, so a tightly framed source can cut off hair, ears or product details. Choose a source that leaves flexibility rather than relying on enlargement to create missing space.
Open Circle Crop with a JPG, PNG or WebP. Keep the original separately. The exported picture is a finished crop; it cannot reveal content outside the selected source region. If you need another framing later, work from the source rather than repeatedly cropping an existing avatar.
A position control can move the crop only where there is unused source space. If the source is already square at the current zoom, changing a position slider may have little visible effect. Zooming creates a smaller retained source region and can provide more positioning room, but it also removes more content.
Understand the square PNG
A 512 × 512 export has square dimensions because ordinary raster files use rectangular pixel grids. The subject appears within a circular mask, while the outside corners are transparent. A white page can make those corners look white even when the PNG contains alpha transparency.
Use Transparency Checker when the background is uncertain. Try a dark or colored preview background to see the circular shape clearly. A JPG cannot retain those transparent corners; converting the avatar to JPG produces a flattened background instead.
Choose a useful output size
The workspace supports square outputs from 32 to 4,096 pixels. Select a size appropriate for the destination and source. A larger export does not create detail absent from the original. It can simply make the same soft face occupy more pixels.
For a small interface avatar, inspect the face at that small display size as well as in the full-size preview. Tiny decorative text or a detailed logo can become unrecognizable. A simple central subject often remains easier to identify than a wide scene compressed into a circular thumbnail.
Check how the destination imports the file
A receiving profile editor may apply another crop, change dimensions or flatten transparency. Test the actual downloaded PNG there. Do not assume that a circle-looking source will bypass the destination’s own mask or framing rules. If it trims the subject again, export a version with more surrounding room.
The PNG specification describes alpha support. Alpha is an image capability, while the destination’s placement is a separate behavior. Transparent corners do not force a page to use a particular background color or layout.
Keep a reusable avatar source
Record the output size and framing choices when you need consistent versions for several places. Keep one high-quality source and export each destination copy from it. Use Add Border for additional outside padding around a finished image, or Favicon Generator when the actual requirement is a browser icon package rather than a profile avatar.
Keep an untouched source and inspect the downloaded result. If an instruction differs from the workspace, send the page URL and the setting involved. Our editorial policy explains how we review examples and limitations.
Example sources and screenshot notes
The example uses a resized 900 × 1,200 copy of Close-up shot of orange flower by Alexandra Diniz.
These photographs are used under the Pexels license. They are licensed images, not claimed as public domain. The photographer links identify the original sources; resizing and example processing were performed for this tutorial.
The controls shown are from the version tested for this guide. A later interface update or a different source can change a result. Compare the displayed format, dimensions and status with the instructions, and report a mismatch with the article URL and the setting involved. Our editorial policy explains how examples and corrections are reviewed.
Find the right tool for your image.
Explore the free workspaces, read their methods and inspect your result before sharing.
Explore image tools