A grid splitter divides a picture into rectangles. Planning the grid matters because whole-pixel dimensions do not always divide evenly, and the receiving layout must place the tiles in the correct order.
TESTED WORKED EXAMPLE
What this session produced
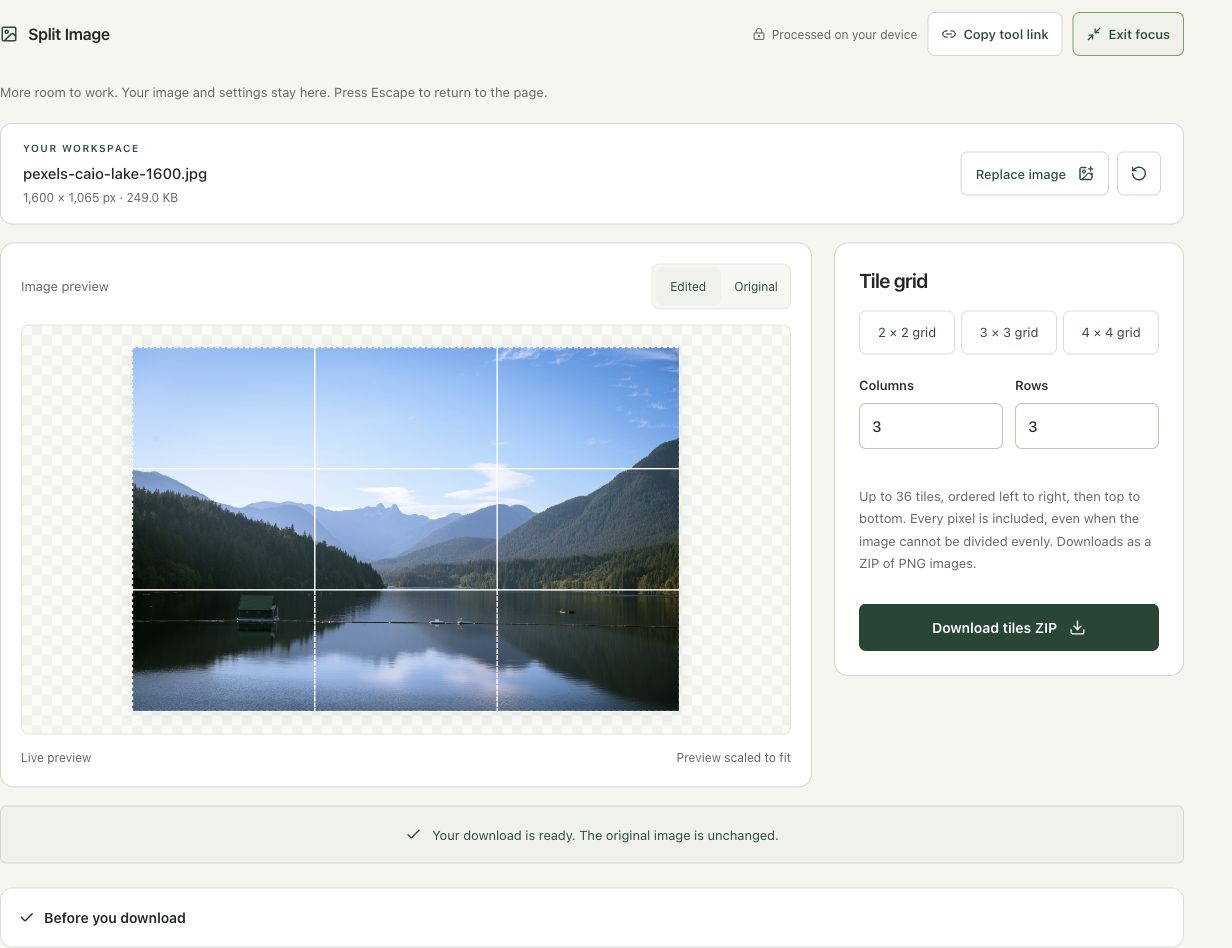
The 1,600 × 1,065 photograph was split into a 3 × 3 grid and exported as nine PNG tiles in a ZIP. The width is not evenly divisible by three, so adjacent tile widths can differ by one pixel.
The screenshots were captured from our working tools on October 6, 2026. Focus workspace is used to give the controls and preview more room. Captures show either the full workspace or the relevant panel; they are not recreated interface illustrations. Sizes and outcomes describe this sample, not a promised result for every image.
Follow the worked example, step by step
Read the settings and the result together. Keep an untouched source when a file is edited, and check the finished output before using it in another application. Each numbered step below includes a real screenshot of the corresponding workspace state. Use the full-size link when a control label is too small on your screen.
Step 1: Open Split Image and choose a grid purpose
Open Split Image. Decide whether the pieces are for reconstruction, a print layout or another presentation. The tool preserves complete source coverage and uses an ordered grid. It does not add borders between tiles or promise a platform-specific upload sequence. Keep the original image so you can change the grid without recombining edited tiles.
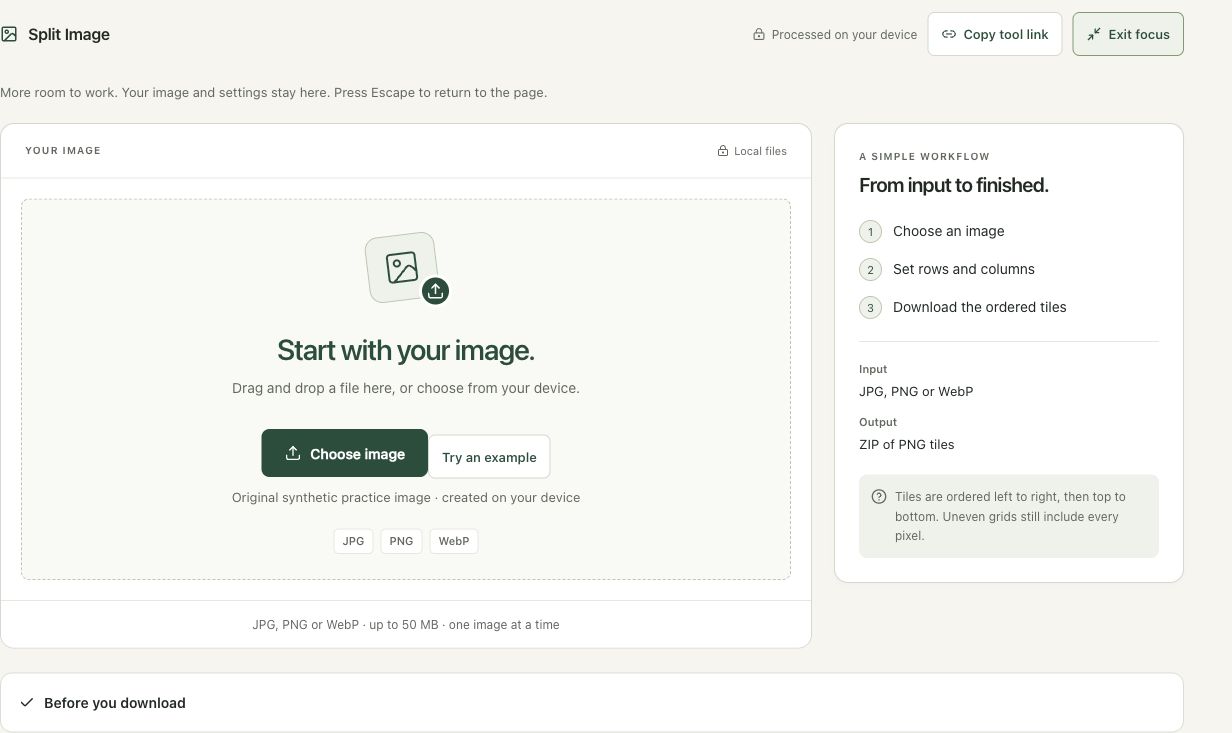
Step 2: Load the 1,600 × 1,065 source and inspect the default grid
Choose the lake photo. The initial grid has two rows and two columns. The preview shows where boundaries cross the subject. Consider whether a tile boundary passes through a crucial label or face before exporting a real design. Dimensions that do not divide evenly still produce a complete partition of the image.
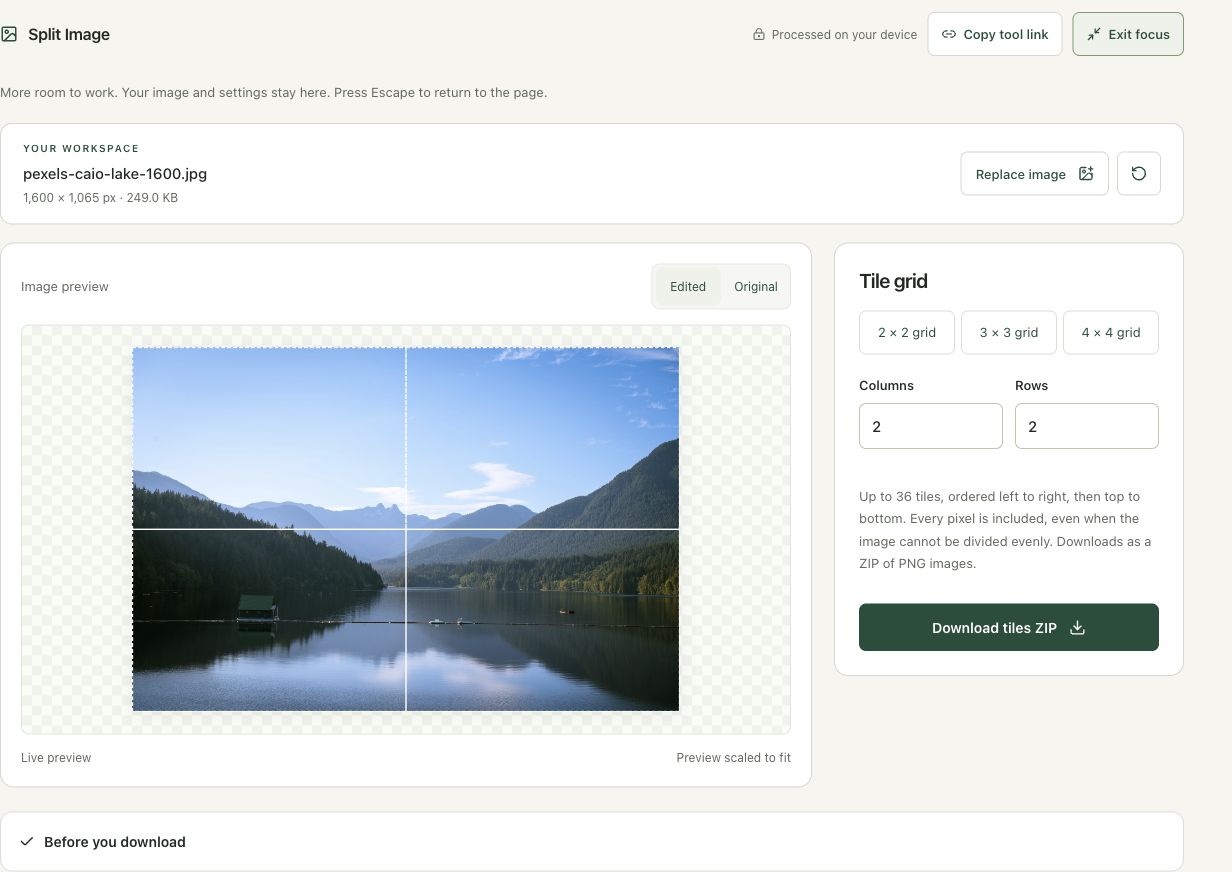
Step 3: Select the 3 × 3 grid
Choose 3 × 3 grid, or enter three in both Rows and Columns. This creates nine pieces. The 1,600-pixel width has a remainder when divided by three, so the export distributes the boundary rounding while retaining all columns. A one-pixel difference between tile widths is expected; forcing all tiles to the same width would change the reconstruction.
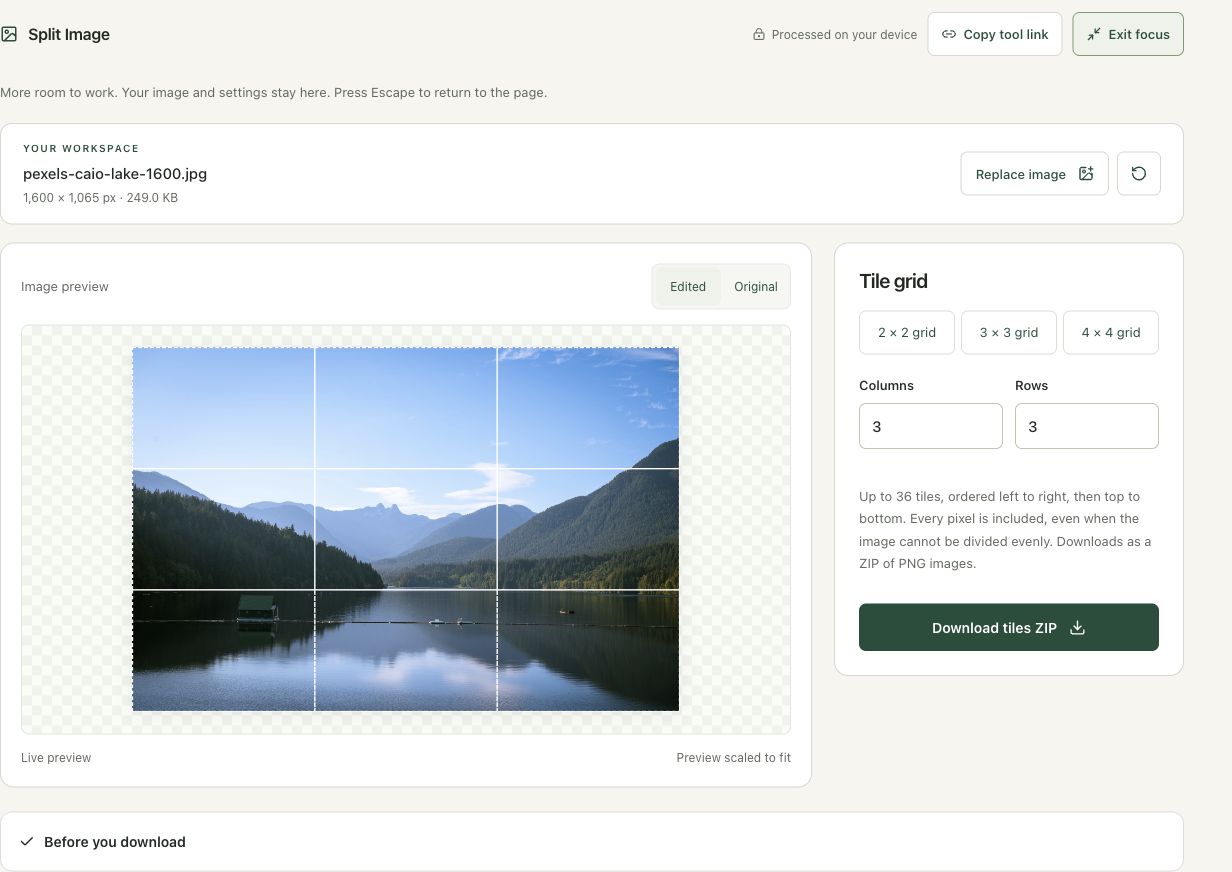
Step 4: Download the tile archive and inspect its ordering
Choose Download tiles ZIP and wait for the ready status. Extract the archive into a separate folder and check the nine PNGs. Their order runs left to right across each row, then down to the next row. Use their actual widths and heights when placing them together. Keep the ZIP and original if another application changes the filenames or display order.
Check the result before using it
Check that the archive contains nine tiles in row-major order: left to right, then top to bottom. Reconstruct them using their actual dimensions. The total source coverage should remain 1,600 × 1,065 rather than dropping remainder pixels.
If the result is not what you expected
Do not resize every tile to an identical width merely because the grid has equal counts. Uneven source dimensions create legitimate one-pixel differences. A social platform may display or order uploaded tiles differently; verify its behavior separately.
Background and practical details
Plan the grid and its use
Decide how many rows and columns the destination actually needs. A three-by-three grid creates nine pieces, while two columns and one row create a side-by-side pair. More pieces increase the work of arranging and checking the outputs. The tool produces image tiles; it does not publish them into a feed or manage another application’s order.
Open Split Image with the complete original JPG, PNG or WebP. Cropping the source first is appropriate when the receiving grid must represent a different shape, but any crop changes the retained content. Keep the original so you can reconsider the composition later.
Every tile must contain at least one pixel. An image only two pixels wide cannot be partitioned into three nonempty columns. For ordinary photographs that limit is rarely the main concern, but it explains why some extreme grid requests are unavailable for very small inputs.
Understand uneven partitions
A width of 1,000 divided by three is 333.333… pixels. PNG tiles need whole dimensions. The splitter partitions the full width with integer boundaries, producing columns that can be 333, 333 and 334 pixels. Their widths add to exactly 1,000, so a slightly wider tile is expected.
Height behaves the same way when it does not divide evenly by the row count. Do not independently resize all tiles to an identical size and then expect an exact reconstruction. That additional resampling can alter edges or change the combined dimensions. If equal tile dimensions are mandatory, prepare a source width and height divisible by the planned counts.
Keep the row-and-column labels
The pieces are named by row and column, proceeding left to right across the first row and then downward. Retain those labels when reconstructing the image in a document or layout. Alphabetical ordering alone can be confusing if another application changes or truncates the names.
Some publishing interfaces display newly added items in a different order from the order you select them. Check that application’s current behavior with a small test before committing a whole grid. The splitter’s row order is an export convention, not a promise about another service’s presentation.
Distinguish pixel preservation from original bytes
The PNG exports retain the decoded pixel regions of the source without deliberately discarding edge pixels. They are new encoded files, not byte slices that reconstruct the original JPG or WebP container. Their combined compressed size can be larger than the original file because each tile has its own encoding and overhead.
The W3C PNG specification describes PNG’s raster representation. A PNG tile does not restore detail already missing from a compressed input. Animated files are handled as a decoded still image in this workflow.
Check the extracted files
Verify tile count, names, dimensions and edge continuity. Reassemble a small grid with no unintended gaps if exact visual reconstruction matters. If the goal is combining separate pictures into one image, use Collage Maker instead. If the goal is fitting one photograph into a different canvas shape, use Social Image Formatter before planning the split.
Keep an untouched source and inspect the downloaded result. If an instruction differs from the workspace, send the page URL and the setting involved. Our editorial policy explains how we review examples and limitations.
Example sources and screenshot notes
The example uses a resized 1,600 × 1,065 copy of Lake surrounded by green mountains by Caio.
These photographs are used under the Pexels license. They are licensed images, not claimed as public domain. The photographer links identify the original sources; resizing and example processing were performed for this tutorial.
The controls shown are from the version tested for this guide. A later interface update or a different source can change a result. Compare the displayed format, dimensions and status with the instructions, and report a mismatch with the article URL and the setting involved. Our editorial policy explains how examples and corrections are reviewed.
Find the right tool for your image.
Explore the free workspaces, read their methods and inspect your result before sharing.
Explore image tools