A landscape photograph does not become a good square post simply by changing its dimensions. Start with the intended canvas, then decide what must remain visible and where extra space can go.
- The tested example
- Step 1: Open the formatter and identify the required canvas
- Step 2: Load the landscape and inspect Fit on a square
- Step 3: Switch to Fill and inspect what the square removes
- Step 4: Choose JPG, download and test the finished composition
- Check the result
- Troubleshooting
- Background and practical details
- Example sources
TESTED WORKED EXAMPLE
What this session produced
The lake photo was placed on a 1,080 × 1,080 square canvas. Fit showed the complete landscape with padding; Fill cropped the side content while retaining proportions. The final example used Fill and JPG export.
The screenshots were captured from our working tools on October 6, 2026. Focus workspace is used to give the controls and preview more room. Captures show either the full workspace or the relevant panel; they are not recreated interface illustrations. Sizes and outcomes describe this sample, not a promised result for every image.
Follow the worked example, step by step
Read the settings and the result together. Keep an untouched source when a file is edited, and check the finished output before using it in another application. Each numbered step below includes a real screenshot of the corresponding workspace state. Use the full-size link when a control label is too small on your screen.
Step 1: Open the formatter and identify the required canvas
Open Social Image Formatter. Find the dimensions required by the destination before choosing a preset. A square post, portrait post and story canvas have different shapes. The formatter preserves the photograph’s proportions; your next choice is whether to retain the entire scene or crop edges to fill the rectangle.
Step 2: Load the landscape and inspect Fit on a square
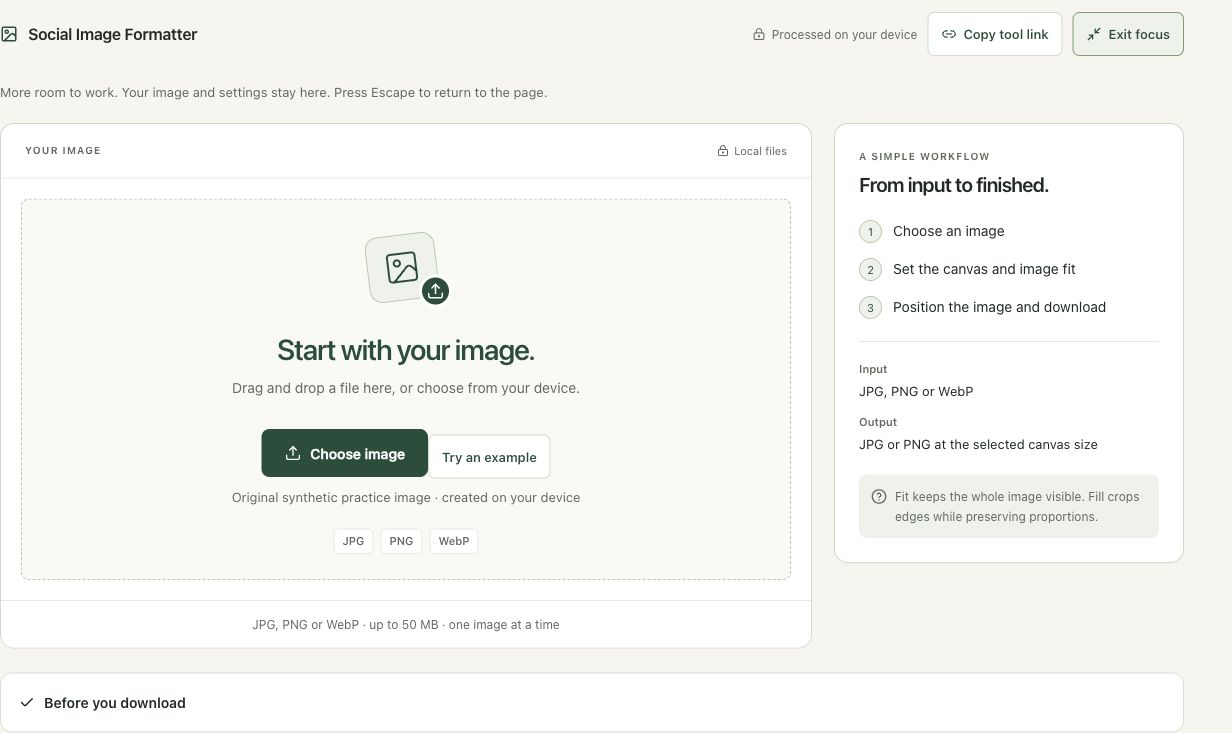
Choose the 1,600 × 1,065 lake photo. The default square is 1,080 × 1,080, with Fit the whole image selected. The photograph stays proportional and gains space above and below. Check whether the padding is acceptable for your design. Changing the background affects the added space rather than stretching the scene to remove it.
Step 3: Switch to Fill and inspect what the square removes
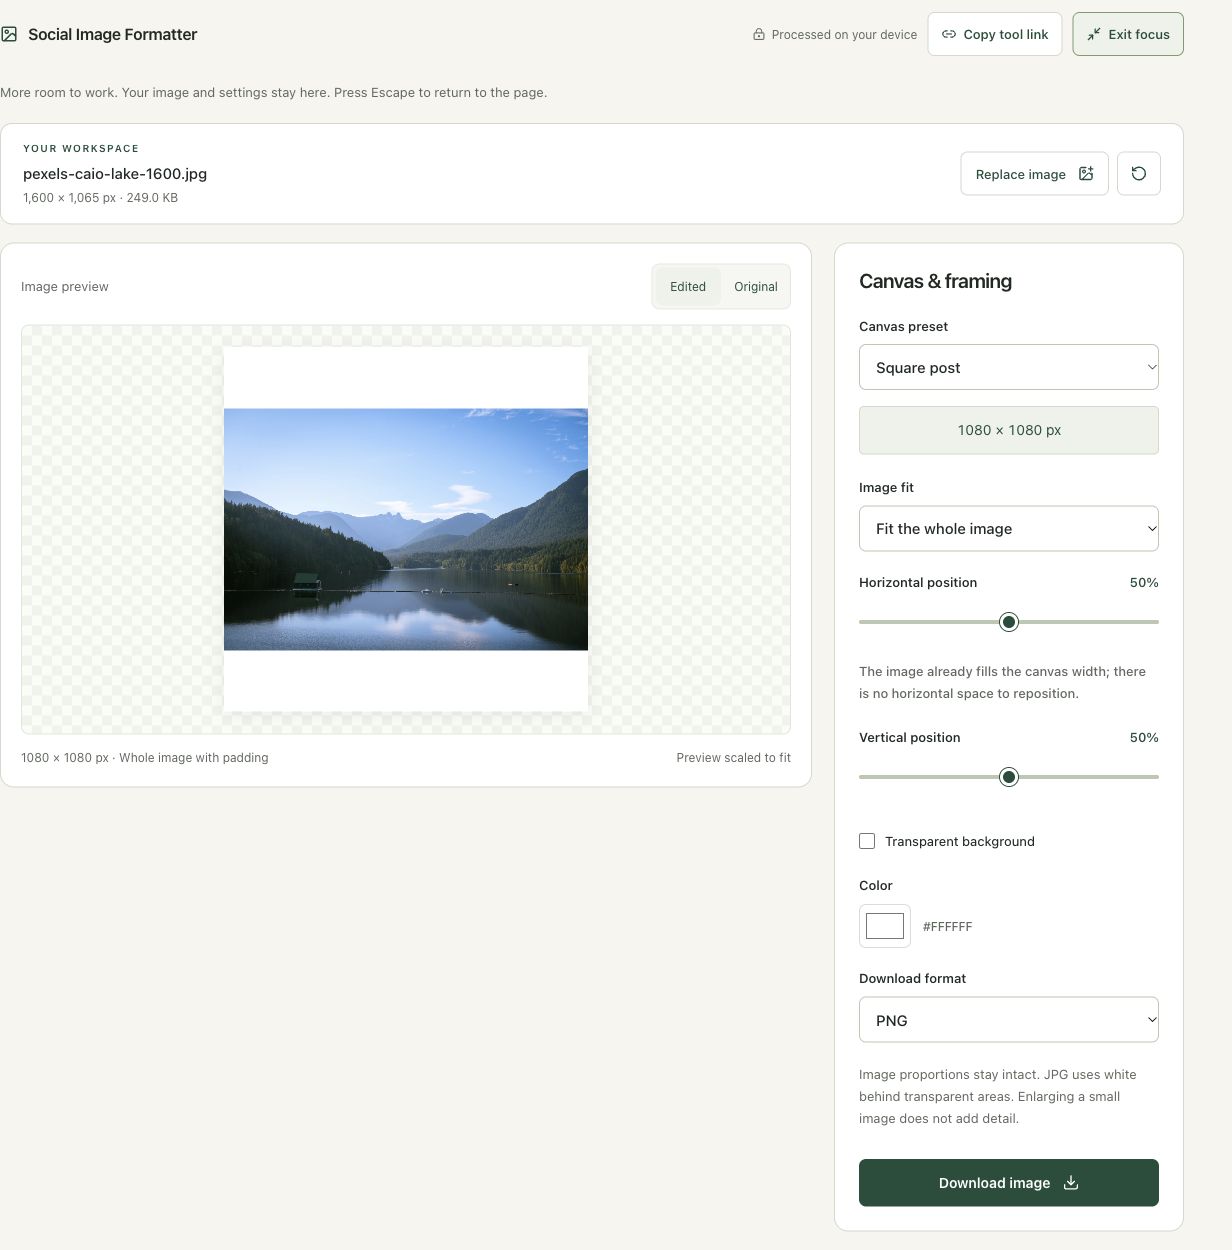
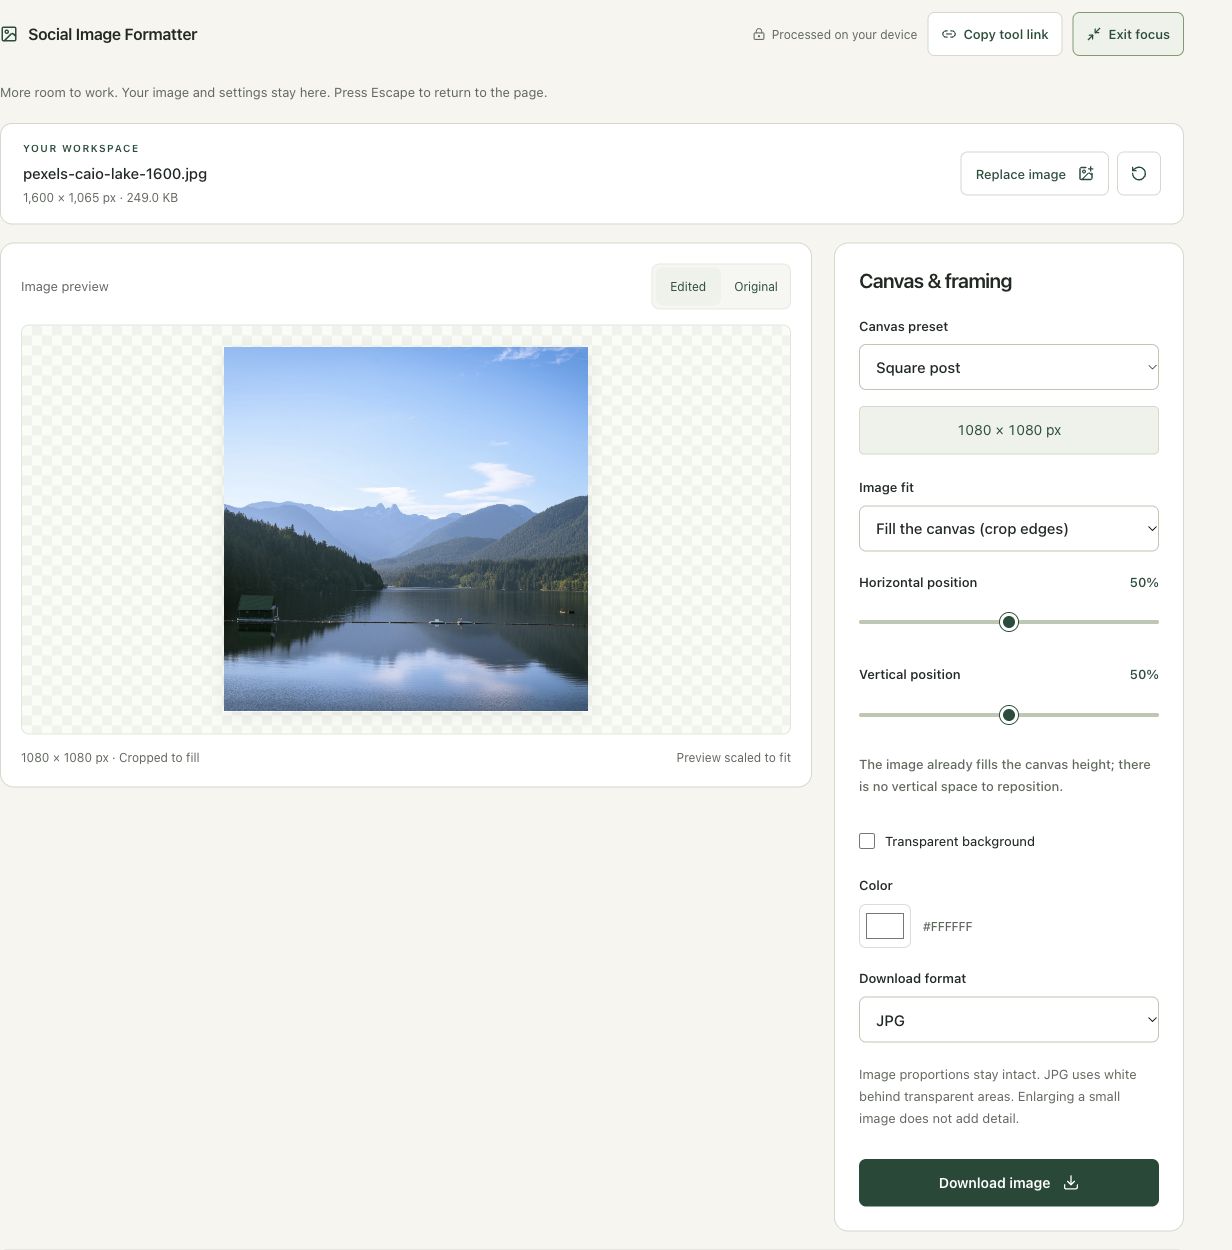
Choose Fill the canvas (crop edges). The photograph now fills the square, and horizontal content is cropped. Review the shoreline and mountains before deciding this framing is acceptable. Position controls move content only where there is room to do so. An unavailable axis is a geometry limit, not a failure to load the photograph.
Step 4: Choose JPG, download and test the finished composition
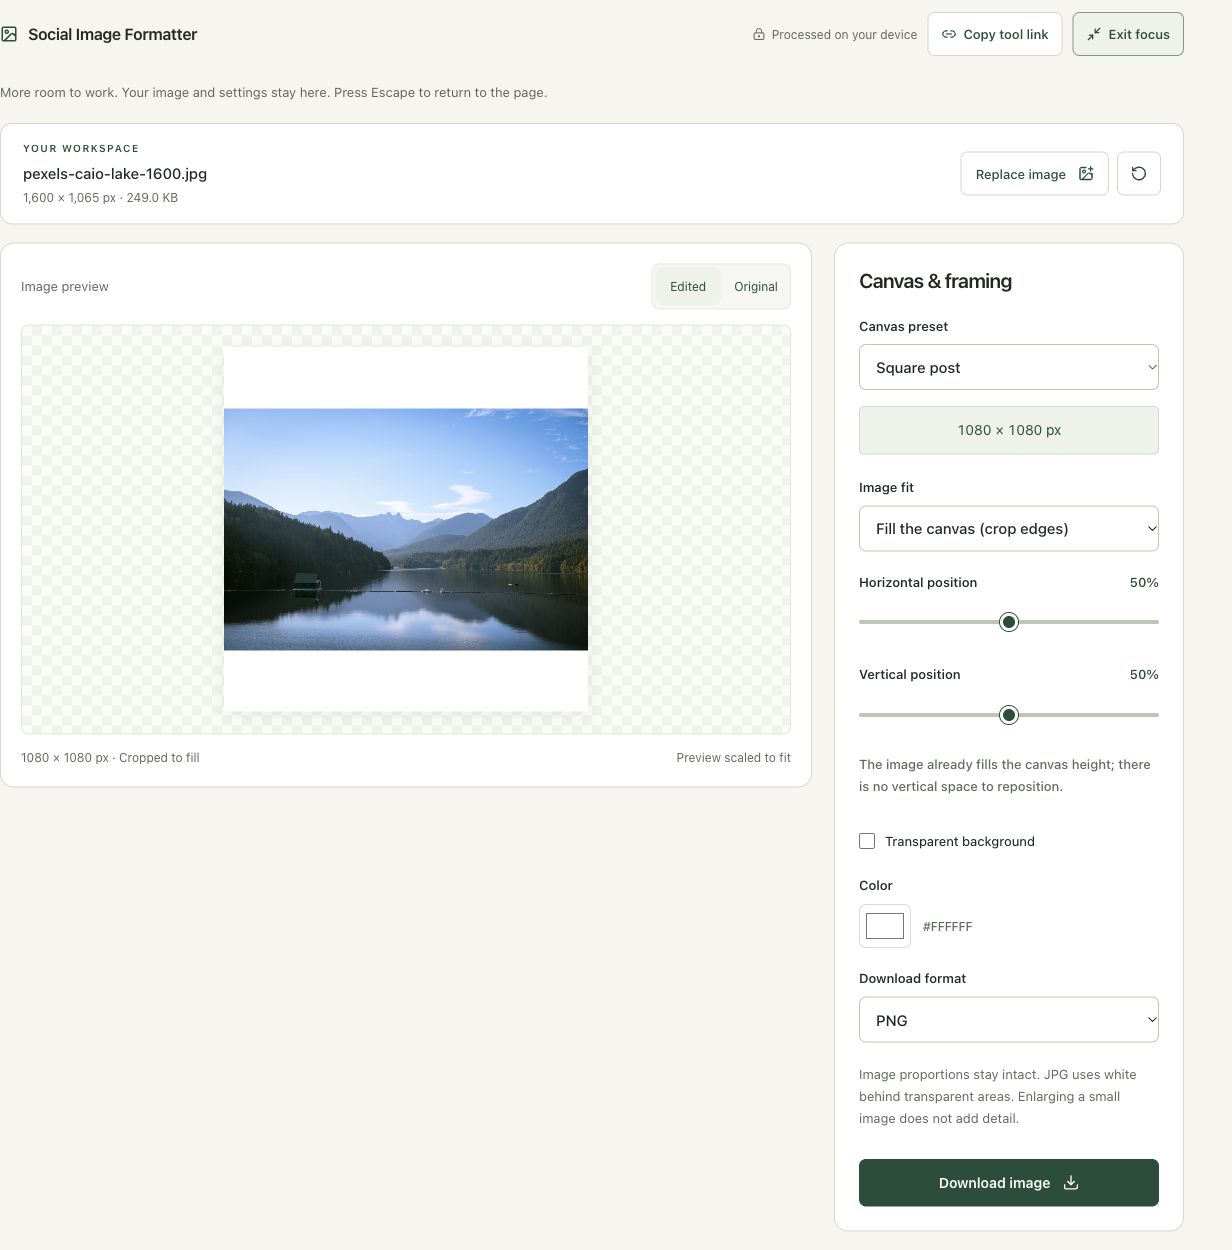
Select JPG in Download format and choose Download image. Wait for the ready status, then confirm the downloaded canvas dimensions and composition. Compare its edges with the source and make sure no important content was lost. If the whole scene is essential, return to Fit and accept padding rather than forcing independent width and height changes.
Check the result before using it
Review the subject and any edge text at the platform’s actual display size. The preset is a canvas convenience, not a promise that a social platform currently requires it. Check that platform’s current upload guidance before publishing.
If the result is not what you expected
A disabled position axis means the image already spans that axis. Fit changes available padding; Fill changes the crop. Transparent backing needs PNG, while JPG fills transparent areas with white. Enlarging a small source does not create reliable new detail.
Background and practical details
Confirm the destination’s current requirements
Open Social Image Formatter and choose a canvas preset. The available sizes include square 1080 × 1080, portrait 1080 × 1350, story 1080 × 1920, landscape 1920 × 1080 and link card 1200 × 630. These describe export canvases, rather than a promise that every platform uses the same placement rules.
Check the publishing destination before preparing the final copy. Profile previews, feeds, link cards and full-screen views can crop the same upload differently. Important text should sit comfortably inside the image rather than touching an outer edge. Test the actual preview when the destination offers one.
Use fit when the entire picture matters
Choose Fit the whole image to retain the full composition. The picture scales uniformly until both sides fit inside the selected canvas. When its proportions differ from the canvas, unused space remains. Choose a background color that suits the picture or select Transparent background when the receiving format supports alpha.
For a 1600 × 900 source on a 1080 × 1080 canvas, the fitting scale is 1080 ÷ 1600. The drawn photo measures 1080 × 607.5, leaving 472.5 pixels of total vertical space. The canvas still exports at whole-pixel dimensions; these fractional drawing measurements explain the geometry, rather than a separately downloadable fractional-size image.
Use fill when the canvas must be covered
Choose Fill the canvas (crop edges) when edge-to-edge coverage is more important than retaining every part of the source. The picture scales uniformly until neither canvas dimension has empty space. Any excess lies outside the canvas and disappears from the exported composition.
In the example, the filling scale is 1080 ÷ 900. The drawn picture becomes 1920 × 1080, leaving 840 horizontal pixels outside the 1080-wide canvas. With a centered composition that means 420 pixels cropped from each side of the scaled picture. This is a different result from compressing the file or stretching its original proportions.
Position adjustments are most useful on an axis with available crop or padding space. They cannot reveal content beyond the source image. If several important subjects are separated across a wide scene, a fitted composition can work better than forcing them into a narrow crop.
Choose the export background deliberately
PNG can preserve a transparent canvas background. JPG uses white behind transparent areas, so it is not the right export when transparent padding is essential. A solid color can make fitted spacing look intentional. MDN’s canvas drawing reference describes scaling and placing image content into a destination rectangle.
Enlarging a small source cannot restore missing detail. Inspect at the size the audience will actually see, particularly for captions and fine edges. Use Image Caption Maker for simple text overlays, or Collage Maker for a composition containing several pictures. Keep your source so a later canvas change can start from the original.
Keep an untouched source and inspect the downloaded result. If an instruction differs from the workspace, send the page URL and the setting involved. Our editorial policy explains how we review examples and limitations.
Example sources and screenshot notes
The example uses a resized 1,600 × 1,065 copy of Lake surrounded by green mountains by Caio.
These photographs are used under the Pexels license. They are licensed images, not claimed as public domain. The photographer links identify the original sources; resizing and example processing were performed for this tutorial.
The controls shown are from the version tested for this guide. A later interface update or a different source can change a result. Compare the displayed format, dimensions and status with the instructions, and report a mismatch with the article URL and the setting involved. Our editorial policy explains how examples and corrections are reviewed.
Find the right tool for your image.
Explore the free workspaces, read their methods and inspect your result before sharing.
Explore image tools