Base64 turns file bytes into text for systems that need text input. It does not compress an image or protect its contents, and the complete encoded value can be much longer than its preview.
- The tested example
- Step 1: Open Image to Base64 and check the destination requirement
- Step 2: Load the JPG and inspect the MIME-prefixed output
- Step 3: Switch to Raw Base64 when the integration requests it
- Step 4: Download the complete code and verify its use
- Check the result
- Troubleshooting
- Background and practical details
- Example sources
TESTED WORKED EXAMPLE
What this session produced
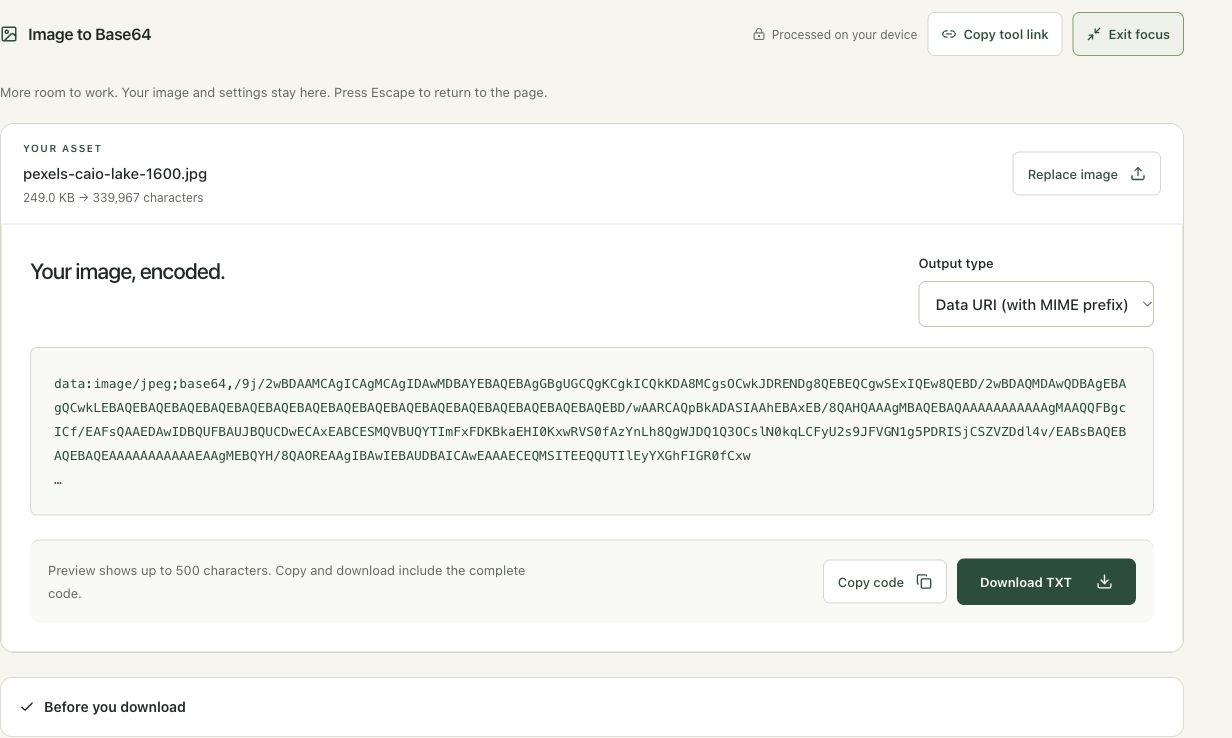
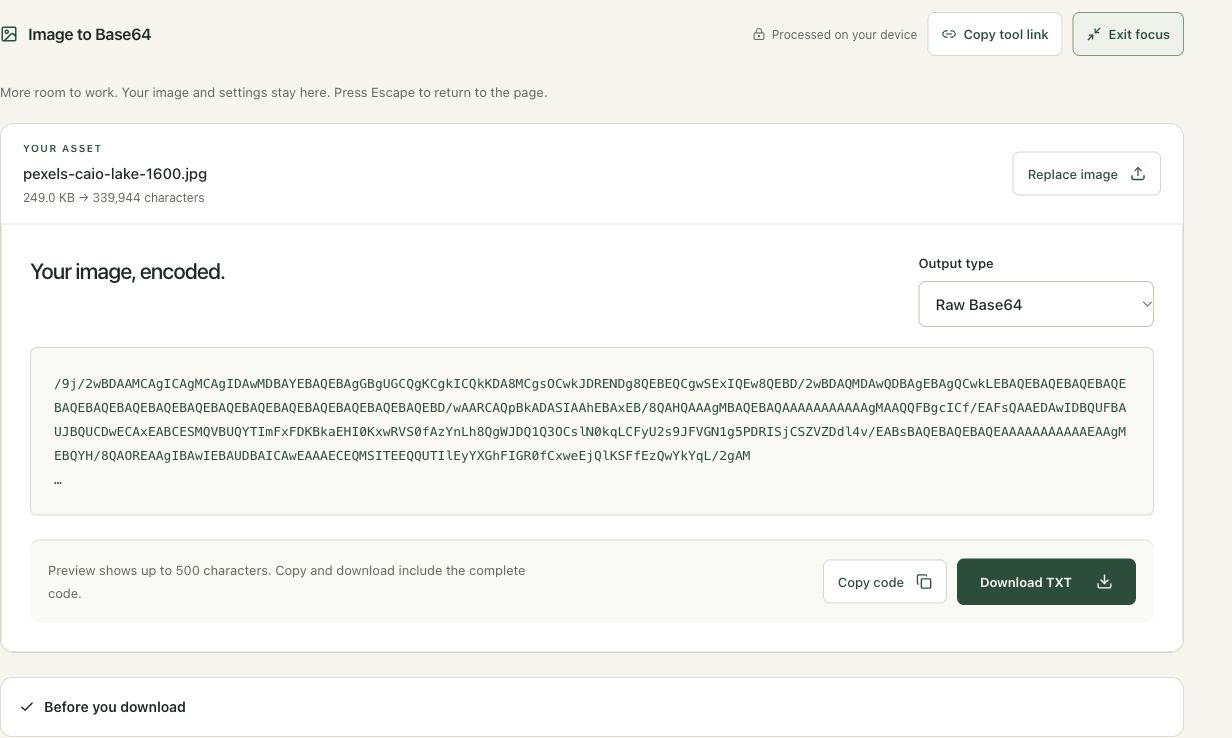
The 254,956-byte JPG produced 339,944 raw Base64 characters. Its data URI added the 23-character data:image/jpeg;base64, prefix, bringing the complete URI to 339,967 characters.
The screenshots were captured from our working tools on October 6, 2026. Focus workspace is used to give the controls and preview more room. Captures show either the full workspace or the relevant panel; they are not recreated interface illustrations. Sizes and outcomes describe this sample, not a promised result for every image.
Follow the worked example, step by step
Read the settings and the result together. Keep an untouched source when a file is edited, and check the finished output before using it in another application. Each numbered step below includes a real screenshot of the corresponding workspace state. Use the full-size link when a control label is too small on your screen.
Step 1: Open Image to Base64 and check the destination requirement
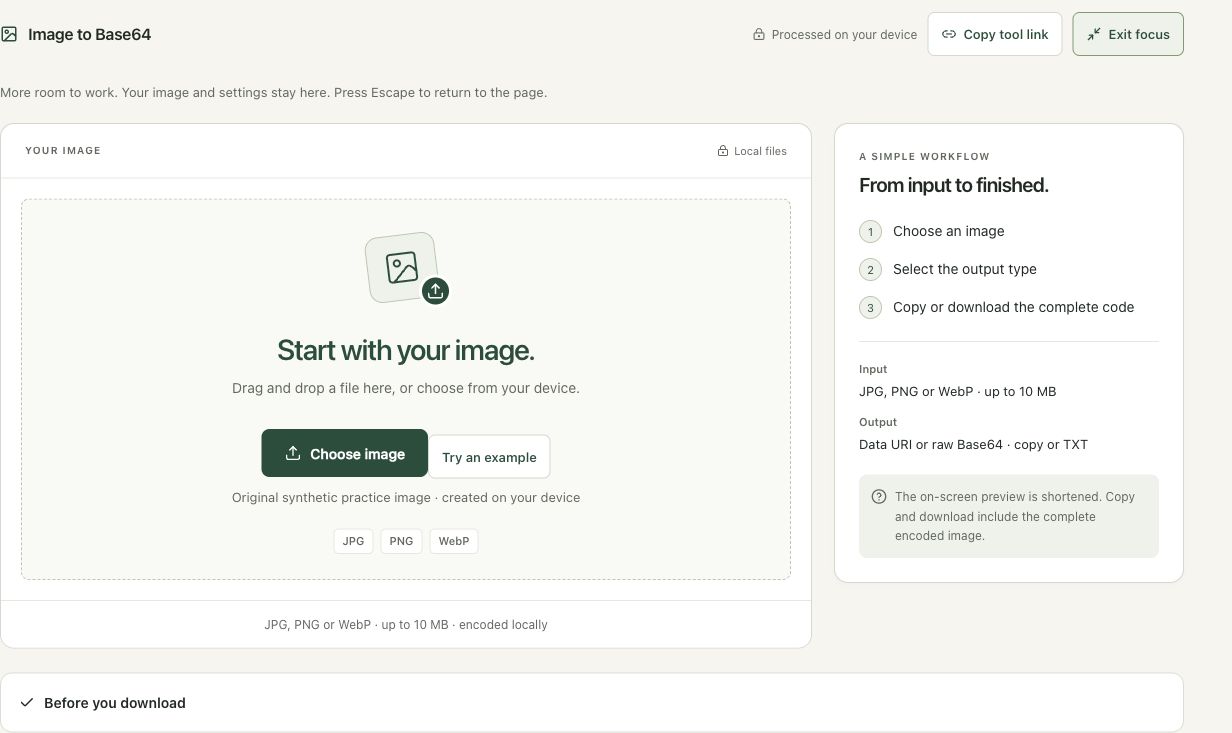
Open Image to Base64. Find out whether the receiving application expects raw encoded text or a complete data URI. These are related but different outputs. The tool preserves the original encoded file in a textual representation; it does not resize or optimize the image. Start with a small asset when the purpose is embedding it in code.
Step 2: Load the JPG and inspect the MIME-prefixed output
Choose the lake JPG. With Data URI selected, the output begins data:image/jpeg;base64, and reports 339,967 characters. The preview displays only its first 500 characters. This is intentional so a large image does not overwhelm the editor. Keep the reported total and the source byte size separate when evaluating the overhead of embedding a photograph.
Step 3: Switch to Raw Base64 when the integration requests it
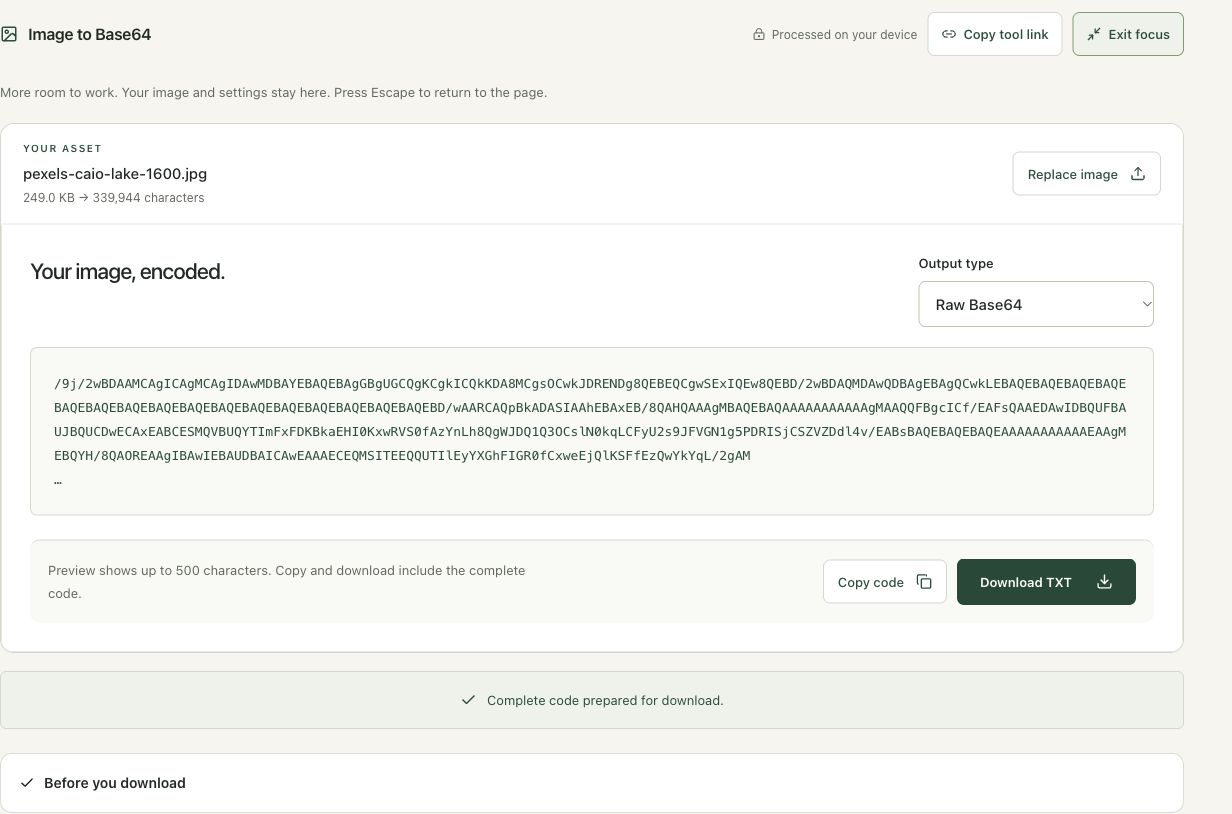
Select Raw Base64. The image data remains the same, but the data URI prefix is removed. The complete raw result has 339,944 characters for this file. Do not add or remove a prefix based on appearance alone; follow the destination’s expected input. The ellipsis in the preview indicates omitted display content, not part of the actual encoded image.
Step 4: Download the complete code and verify its use
Choose Download TXT and read the status confirming that complete code was prepared. The TXT contains the full selected representation. Avoid copying the visible preview with its ellipsis. Test the code in a small controlled integration before embedding it in a large page. For ordinary web photographs, a separate image URL can be easier to cache and maintain.
Check the result before using it
Use the complete copied or downloaded code, not the shortened on-screen preview. Decode a test copy or render the data URI in the intended application and compare it with the source. Base64 is representation, not compression or encryption.
If the result is not what you expected
A data URI includes a MIME prefix; raw Base64 does not. Some integrations require one specifically. Encoding increases text length to four characters per three input bytes, with padding. Large photo data URIs can make HTML or CSS unnecessarily bulky.
Background and practical details
Check what the receiving system expects
Some integrations request raw Base64, while an HTML image source commonly needs a complete Data URI. Those are different strings even when they represent exactly the same file. Read the receiving field’s example before generating your value, and avoid adding a prefix twice.
Open Image to Base64 with a JPG, PNG or WebP within the tool’s 10 MB input limit. The tool reads and encodes the file locally. It does not resize the image, change its format or remove metadata. If the file needs preparation, do that first and encode the prepared export.
Choose raw code or a Data URI
Under Output type, choose Data URI (with MIME prefix) when the destination needs a string beginning with data: and the media type, followed by ;base64, and the encoded bytes. Choose Raw Base64 when the destination explicitly expects only the encoding itself. The workspace reports the selected output’s character count.
The MIME prefix describes the file type; it is not a way to convert PNG bytes into JPG. Changing a prefix without converting the underlying file can cause a mismatch. Use Convert Image for an actual format change, then encode the resulting file with the matching type.
Allow for the encoding overhead
Standard Base64 represents each three input bytes with four characters, with padding for an incomplete final group. The encoded length is 4 × ceiling(file bytes ÷ 3). A 3,000-byte file therefore produces 4,000 Base64 characters before any Data URI prefix. A file whose length is not divisible by three rounds up to a complete group.
MDN’s Base64 explanation describes encoding binary data as text. Encoding generally increases this representation’s length. It is not an image optimizer. If your destination has a text-length limit, compare that limit with the complete output, including the prefix when required.
The on-screen preview shows at most the first 500 characters and an ellipsis for a longer value. Selecting and copying that preview can produce an incomplete image. Copy code and the TXT download include the entire selected representation. If a clipboard operation fails, use the downloaded text file and retain its full contents.
Understand visibility and document size
Base64 is reversible encoding, rather than encryption. Anyone who can read a public page’s embedded image value can recover its image bytes. Keep confidential screenshots and identity documents out of publicly shared code or documents. Metadata present in the original file is still present in the encoded bytes unless you removed it first.
Embedding a large picture also adds substantial text to the containing document. A normal image URL can be easier to maintain for a website asset that changes independently. Choose based on the receiving system’s requirements, rather than assuming inline encoding always improves page loading. For a smaller input, consult the upload-size guide, then verify readability before encoding.
Keep an untouched source and inspect the downloaded result. If an instruction differs from the workspace, send the page URL and the setting involved. Our editorial policy explains how we review examples and limitations.
Example sources and screenshot notes
The example uses a resized 1,600 × 1,065 copy of Lake surrounded by green mountains by Caio.
These photographs are used under the Pexels license. They are licensed images, not claimed as public domain. The photographer links identify the original sources; resizing and example processing were performed for this tutorial.
The controls shown are from the version tested for this guide. A later interface update or a different source can change a result. Compare the displayed format, dimensions and status with the instructions, and report a mismatch with the article URL and the setting involved. Our editorial policy explains how examples and corrections are reviewed.
Find the right tool for your image.
Explore the free workspaces, read their methods and inspect your result before sharing.
Explore image tools