A useful image workflow reduces repeated work and unnecessary re-encoding. Workflow Studio combines a rectangular crop, proportional resize and basic light and color adjustments while rebuilding the result from the same original image.
What this workflow solves
A useful image workflow reduces repeated work and unnecessary re-encoding. Workflow Studio combines a rectangular crop, proportional resize and basic light and color adjustments while rebuilding the result from the same original image. The following example uses the on-device synthetic practice image. Numerical dimensions describe the specified geometry, not a universal quality or compression result.
1. Open the original and define the destination
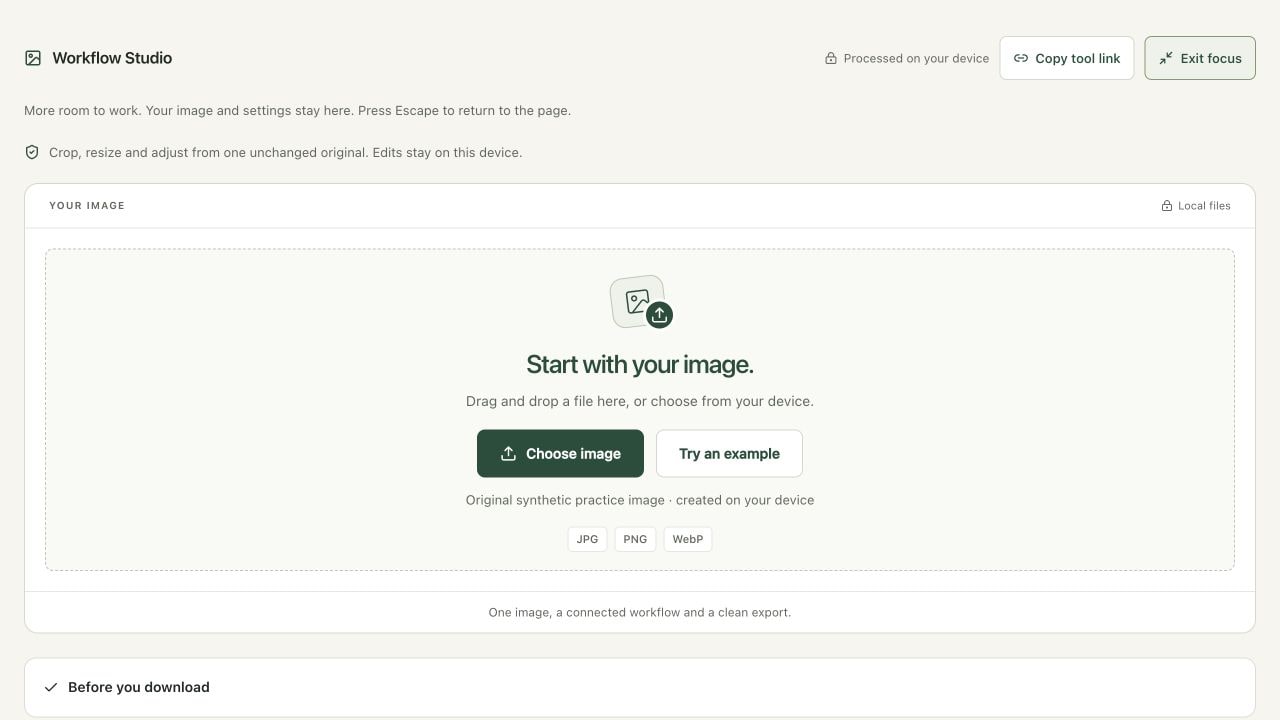
Open Workflow Studio and choose a JPG, PNG or WebP, or use Try an example. The practice graphic is generated on your device at 640 × 480 pixels and contains fictional text and geometric shapes. Keep the original file outside your export folder. Decide whether the destination needs a particular aspect ratio, a maximum width, a transparent background or an accepted format. Those requirements determine your settings; a smaller byte count alone does not make an image suitable.
Read the original dimensions in the asset bar. Original and Result show separate dimensions when a crop or resize changes them. Fit scales the preview to the workspace. It is useful for checking composition but cannot establish that fine text has survived. Choose 100% when judging detail. Your browser decodes the source into pixels, so this workflow is for ordinary web images rather than preserving camera RAW data, animation, editing layers or every embedded metadata field.
2. Choose an exact crop inside the original
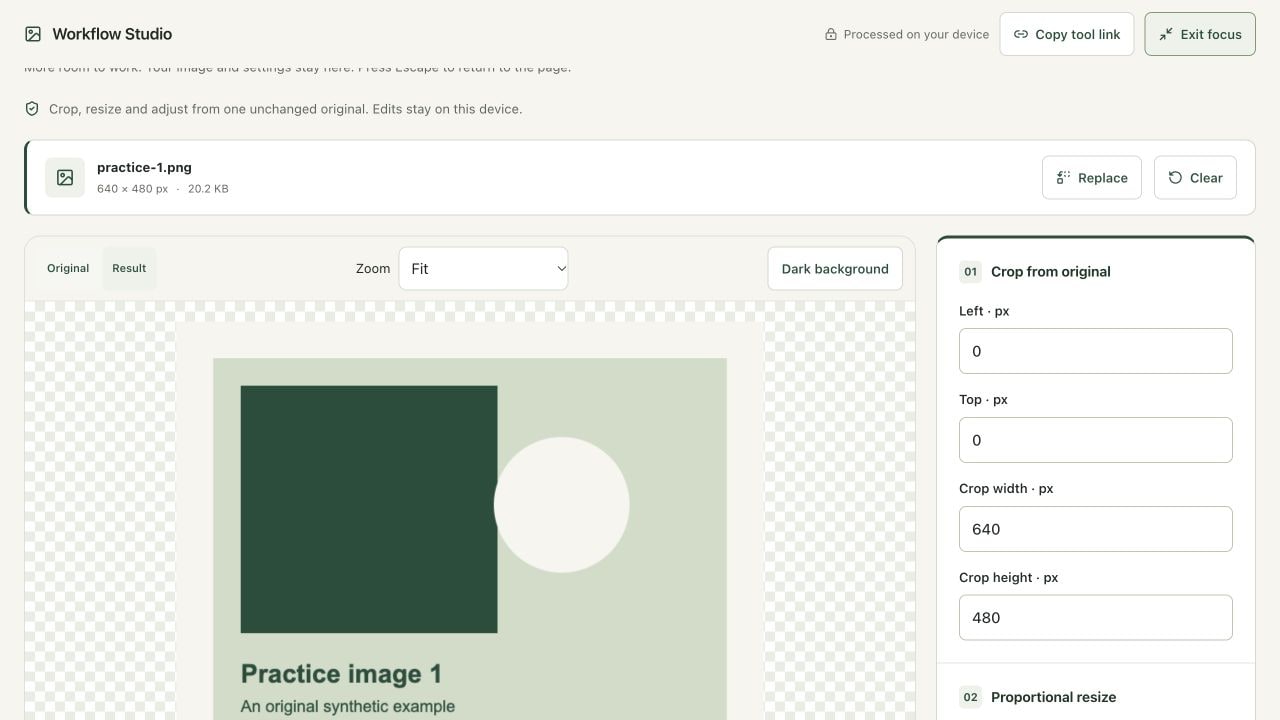
The Left and Top fields are the crop origin measured from the upper-left corner of the original. Crop width and Crop height are the region dimensions in whole pixels. With the 640 × 480 practice file, Left 20, Top 10, Crop width 600 and Crop height 400 selects a 3:2 region. The right edge is 620 and the bottom edge is 410, so the entire region remains inside the source.
A crop removes content outside that rectangle; it does not squeeze the subject into a new shape. An invalid region shows an error and disables export. If you move Left to 100 while retaining width 600, the rectangle extends beyond the 640-pixel source. Reduce the crop width or move it back rather than assuming the browser will invent missing pixels. Undo restores the previous setting, and redo restores a setting you have just undone until a new change creates a new history branch.
3. Resize once and adjust gently
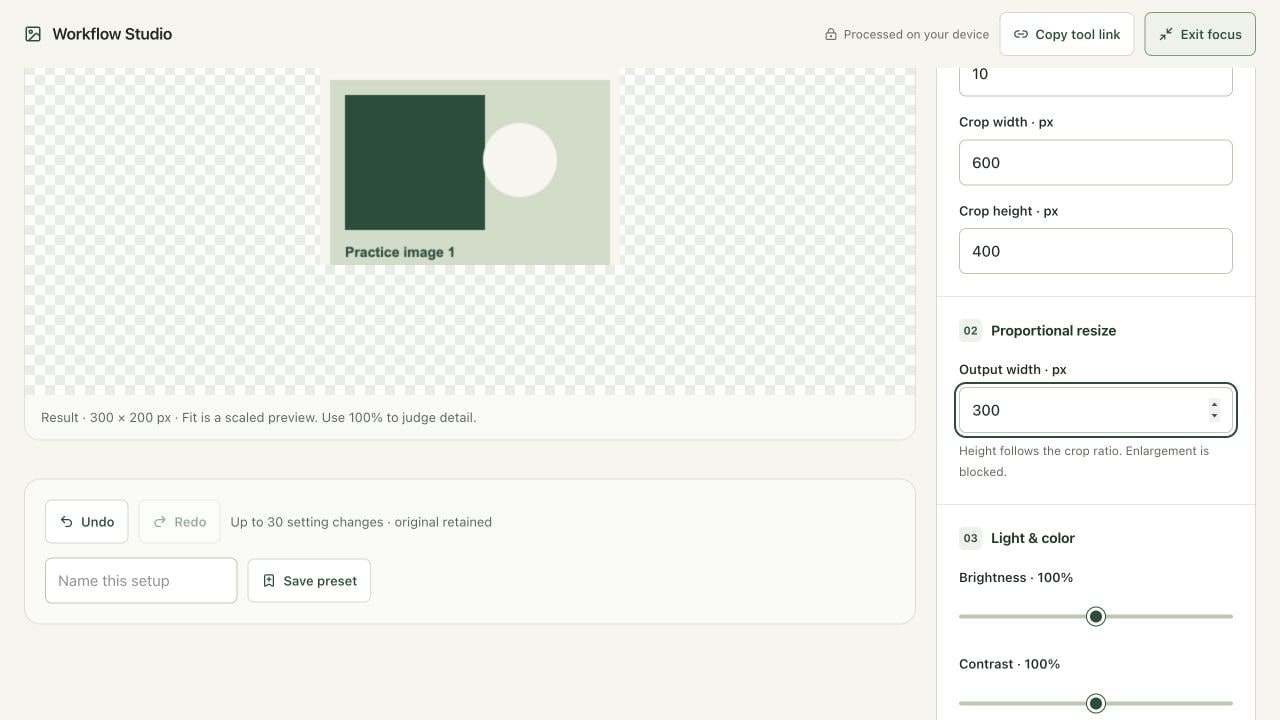
Set Output width to 300 for this 600 × 400 crop. The proportional height is 200 because 300 × 400 ÷ 600 = 200. Height rounds to a whole pixel for ratios that do not divide evenly. The tool blocks enlargement: your output width must not exceed the cropped width. It draws from the original crop every time, so changing 300 to 400 does not enlarge the previously generated 300-pixel image.
Brightness, Contrast and Saturation begin at 100%, which leaves the corresponding adjustment neutral. Start with small changes and compare against Original. Strong contrast can flatten near-white or near-black detail; strong saturation can distort product colors. Returning a slider to 100 is different from recovering detail from an already exported lossy file. Here the next render still uses your original decoded pixels. Use the Image Histogram tool when you need counts across tonal ranges rather than guessing from the appearance of a small preview.
4. Save a setup, inspect and export
After the crop and resize are valid, choose a preset name and Save preset. The browser retains up to eight named setups on this device, containing settings rather than image files. Applying a preset to another source does not guarantee a valid crop: the coordinates may exceed a smaller image. Undo and redo retain up to 30 setting changes for the loaded original. Replacing the image starts a fresh session, which keeps history from accidentally mixing unrelated sources.
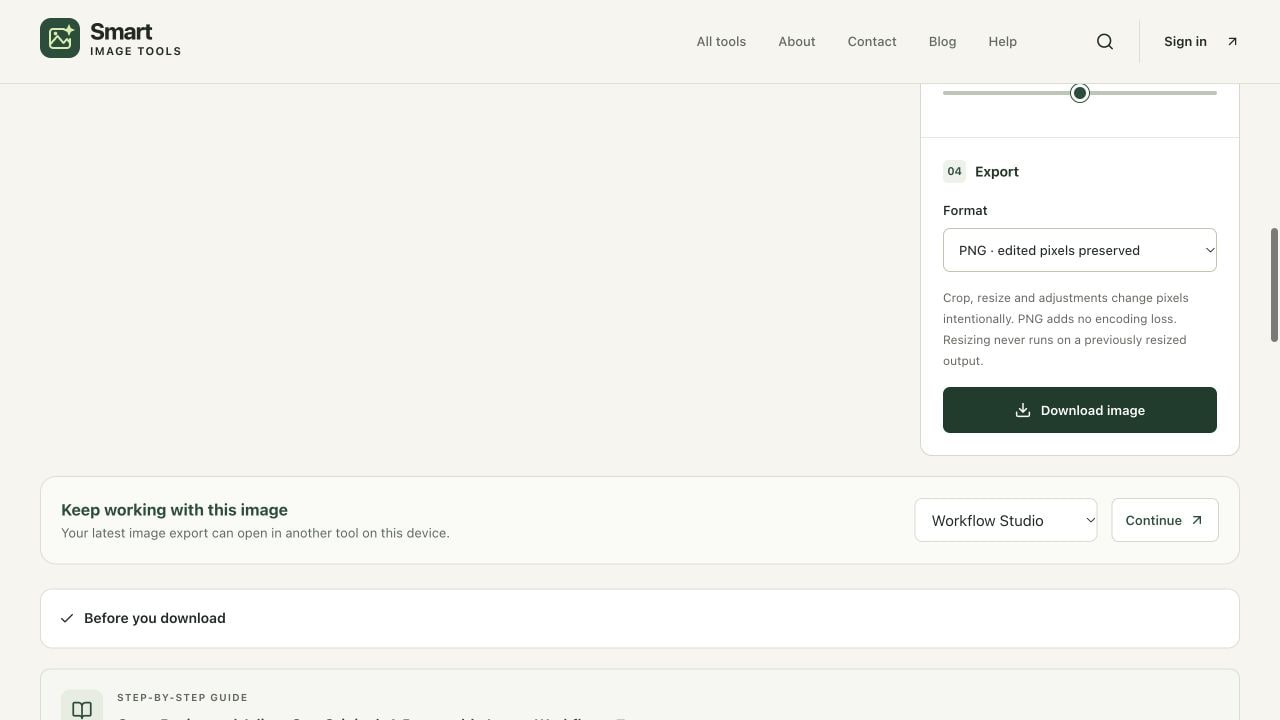
Choose PNG to preserve the edited decoded pixels without further encoding loss. Crop, resize and color adjustments still change the image intentionally. JPG and WebP are lossy, including at a quality setting of 100; JPG fills transparent areas with white. Download image exports the displayed valid setup. Then use Keep working with this image to open the latest image export in another visible tool on this device. The handoff uses browser storage and expires after 30 minutes, with expired records removed on subsequent use.
Why keeping one original matters
Repeated JPEG encoding can introduce additional changes at each generation. A workflow built from a single source avoids using a previous preview as the next source. That protects you from an avoidable sequence of lossy re-encodes, but it cannot restore detail already absent from your original. A JPEG converted to PNG remains a rendering of that JPEG. PNG simply avoids adding another lossy encoding step.
Preview and export have different purposes. A fitted preview makes the composition easy to inspect, while an export records the planned dimensions. Check the result at 100% and verify its dimensions in Image Info. For a web page, a responsive package may be more useful than one large file. For a hard upload limit, Compress to Size can make the remaining quality tradeoff explicit. Choose the next tool according to the destination rather than automatically running every tool.
Verify your result
- For the specified 640 × 480 practice crop, verify 300 × 200 output dimensions. This is geometry, not a photographic quality benchmark.
- Inspect text, high-contrast edges and transparency at 100%, then open the downloaded file in Image Info.
- Retain the source, record the settings and choose a format accepted by the receiving page.
When the result needs work
- Crop exceeds original: check Left + Crop width and Top + Crop height against the source dimensions.
- A preset does not fit: its coordinates were saved for another source. Adjust the region before exporting.
- Output is too large in bytes: PNG may be larger than a photo format. Use lossless compression first; allow lossy encoding only if the destination requires it.
References and next steps
Open workflow studio to reproduce the workflow. Technical references reviewed October 9, 2026:
For another task, use Lossless Compress, Image Info or Image Compare. Files remain on your device; optional usage analytics never include image contents or filenames. Read our privacy policy and editorial policy. If an instruction differs from your result, send the page URL and a description so the guide can be reviewed.
Find the right tool for your image.
Explore the free workspaces, read their methods and inspect your result before sharing.
Explore image tools