AI enlargement produces more pixels and estimates how detail might look. That can be useful for presentation, but a larger output is not proof that the original scene has been recovered accurately.
- The tested example
- Step 1: Open Upscale Image and define the enlargement purpose
- Step 2: Load the small licensed photo and read the planned output
- Step 3: Choose the 2× model and start local processing
- Step 4: Compare the completed enlargement and export it
- Check the result
- Troubleshooting
- Background and practical details
- Example sources
TESTED WORKED EXAMPLE
What this session produced
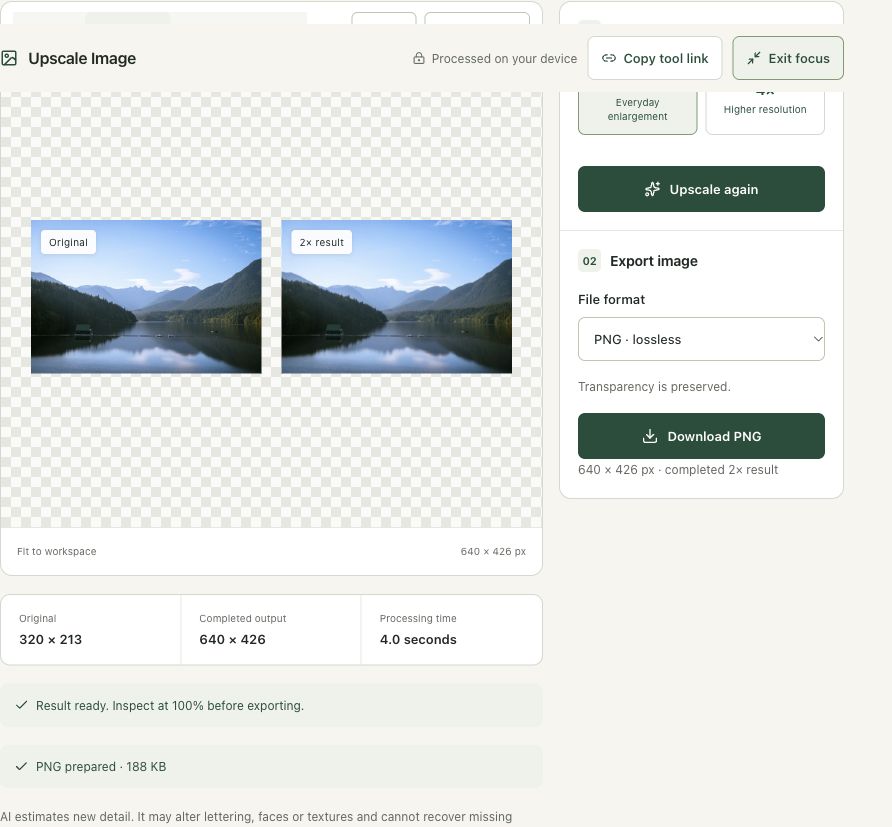
The 320 × 213 licensed photo was processed with the 2× model, producing 640 × 426 pixels. No smaller-input preparation was needed. The completed result was compared side by side and exported as PNG.
The screenshots were captured from our working tools on October 6, 2026. Focus workspace is used to give the controls and preview more room. Captures show either the full workspace or the relevant panel; they are not recreated interface illustrations. Sizes and outcomes describe this sample, not a promised result for every image.
Follow the worked example, step by step
Read the settings and the result together. Keep an untouched source when a file is edited, and check the finished output before using it in another application. Each numbered step below includes a real screenshot of the corresponding workspace state. Use the full-size link when a control label is too small on your screen.
Step 1: Open Upscale Image and define the enlargement purpose
Open Upscale Image. Decide whether ordinary resizing is sufficient or whether an AI estimate of additional detail is useful. Keep the best original. This tool offers 2× and 4× trained models and displays planned dimensions before processing. Enlarging a small picture can improve presentation while still changing textures or inventing plausible detail.
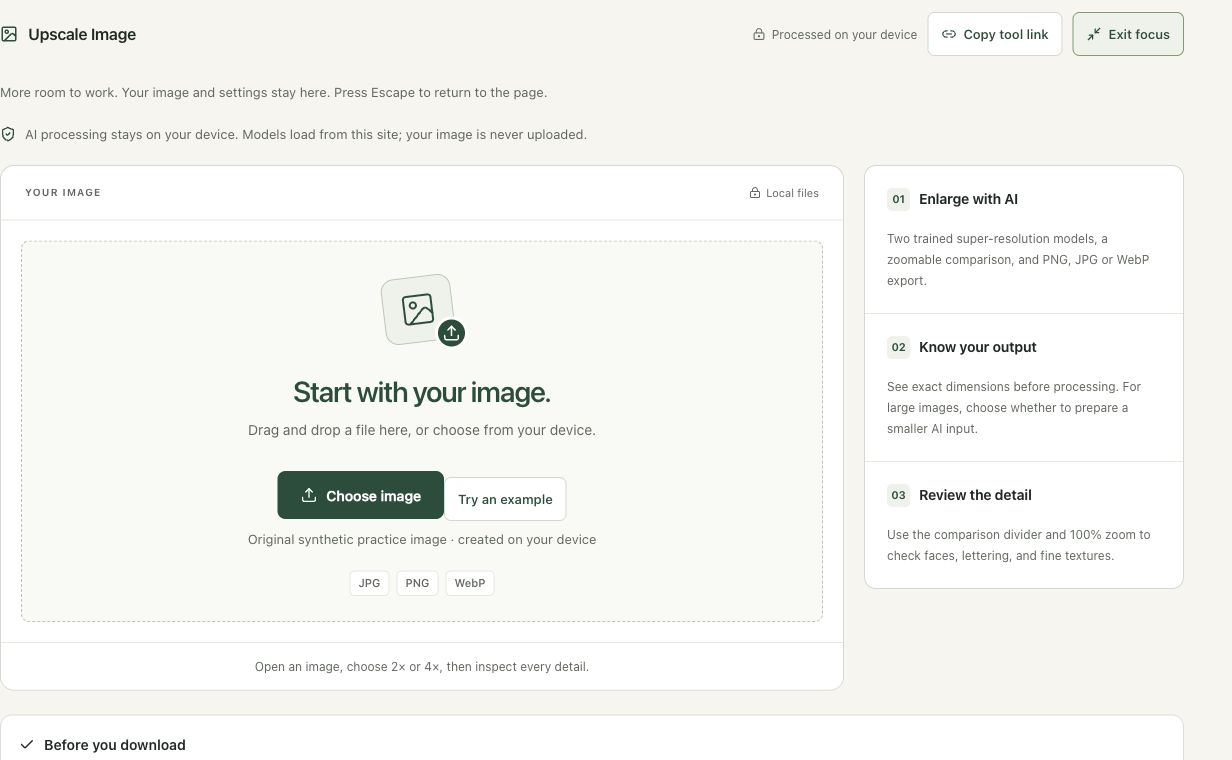
Step 2: Load the small licensed photo and read the planned output
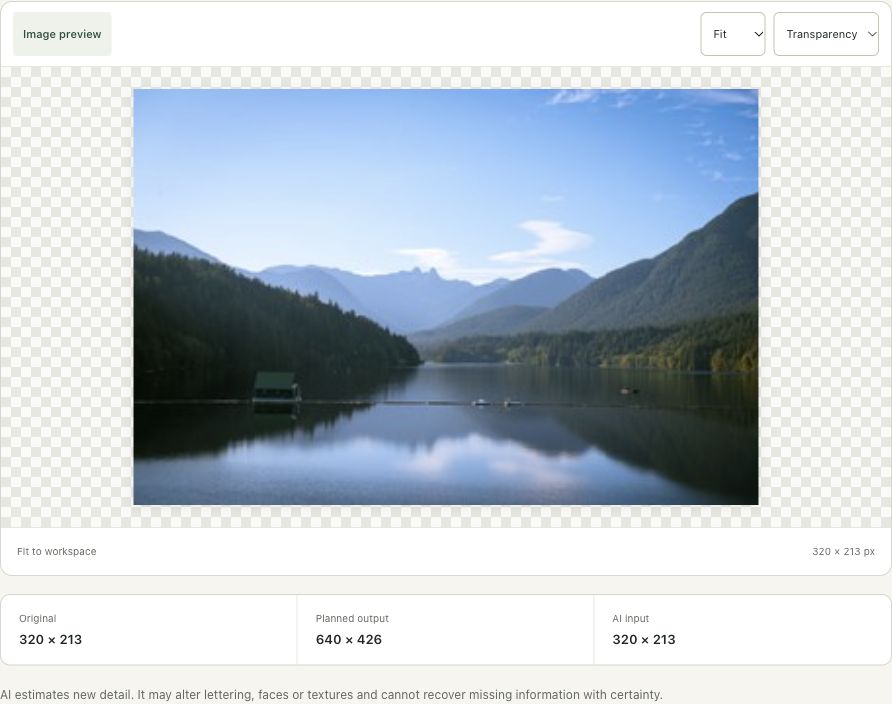
Choose the 320 × 213 tutorial lake JPG. The panel reports that a 2× run will produce 640 × 426. This small source was derived from the licensed original to make a controlled enlargement example. Read both the source and working-input dimensions before proceeding, especially when the tool offers to prepare a smaller input for a large photograph.
Step 3: Choose the 2× model and start local processing
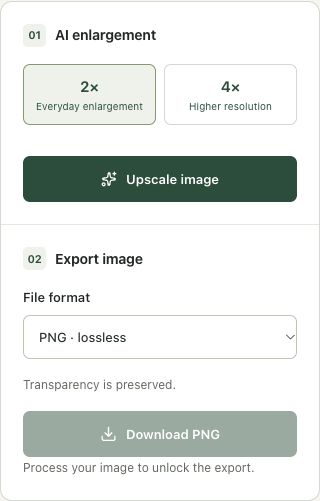
Keep 2× selected and PNG as the export format, then choose Upscale image. Allow the model to load and the image tiles to finish processing. The progress controls describe the current stage and allow cancellation. A 4× choice creates more output pixels and a different inference task; it should not be chosen solely because its number is larger.
Step 4: Compare the completed enlargement and export it
Use Side by side to inspect the source and 640 × 426 result. Review fine structure at actual size, then choose Download PNG. A PNG preserves the completed raster output without an additional lossy JPG export, but that does not make the AI-estimated detail identical to the original scene. Keep the small source and document the enlargement when accuracy matters.
Check the result before using it
Inspect the shoreline, mountain texture and any lettering at actual size. More pixels do not establish more factual detail. AI estimates can change edges and textures, so keep the original and distinguish the generated enlargement from a verified source photograph.
If the result is not what you expected
Large sources may require an explicit smaller working input to fit browser resources. Compare the planned working and output dimensions before processing. If a setting changes, run the model again; a completed preview still represents the earlier run.
Background and practical details
Decide whether enlargement is needed
Check the destination’s required dimensions before processing. A small display area may already have enough source pixels. Enlarging an image that will immediately be shrunk again can add work and bytes without improving the final presentation. Keep the original and make a separate version for the intended use.
For a print, use Pixels to Print to plan the relationship between pixels and physical dimensions. A calculator does not judge focus or authenticity. If important detail is absent, a higher output pixel count does not establish that the missing detail has been faithfully reconstructed.
Read the planned dimensions
Open Upscale Image and choose 2× or 4×. The factor multiplies each axis of the working input. A 640 × 480 image at 2× becomes 1,280 × 960; at 4× it becomes 2,560 × 1,920 when no input preparation is needed. Pixel count increases fourfold and sixteenfold respectively.
For a large source, the workspace can require Prepare a smaller input for browser AI. Read both AI input and Planned output. Preparing a smaller input discards source detail before enlargement, and the resulting output can even be smaller than the original. The selected factor describes the prepared input, not necessarily the original file.
The models load from this site; your picture is not uploaded for AI processing. The first run can take longer because the browser must load resources. Processing time depends on the image and device. Keep the tab open and use the cancellation control when necessary rather than assuming a progress value promises a fixed completion time.
Look for plausible mistakes
Check lettering one character at a time. An estimated stroke can resemble a real character while changing a name or digit. Inspect eyes, teeth, repeated brickwork and fabric patterns for alterations that were not in the source. A result can look sharper in a quick preview while becoming less faithful in those areas.
A useful presentation enhancement should still be evaluated in context. Do not use synthesized detail as evidence of something the source did not show. If exact text or an identifying feature matters, obtain a better original rather than relying on an attractive AI reconstruction.
Export the completed result deliberately
Changing the factor or preparation after a run does not silently change the completed image. The workspace marks the settings as changed and retains the previous result until you process again. Check Completed output and the result label before downloading so that you do not mistake a planned size for an achieved one.
The implementation uses UpscalerJS with dedicated models. Use Resize Image when straightforward proportional resampling is sufficient. For subtle edge emphasis at unchanged dimensions, Sharpen Image is another distinct workflow.
Keep an untouched source and inspect the downloaded result. If an instruction differs from the workspace, send the page URL and the setting involved. Our editorial policy explains how we review examples and limitations.
Example sources and screenshot notes
The example uses a deliberately small 320 × 213 copy of Lake surrounded by green mountains by Caio for a controlled enlargement.
These photographs are used under the Pexels license. They are licensed images, not claimed as public domain. The photographer links identify the original sources; resizing and example processing were performed for this tutorial.
The controls shown are from the version tested for this guide. A later interface update or a different source can change a result. Compare the displayed format, dimensions and status with the instructions, and report a mismatch with the article URL and the setting involved. Our editorial policy explains how examples and corrections are reviewed.
Find the right tool for your image.
Explore the free workspaces, read their methods and inspect your result before sharing.
Explore image tools