A visible text watermark can help identify a shared image. Its usefulness depends on legibility and placement, and it should not be treated as a guarantee that nobody can edit or reuse the file.
- The tested example
- Step 1: Open Add Watermark and choose an accurate label
- Step 2: Load the photo and apply the practice label
- Step 3: Move the label left and increase opacity to 65%
- Step 4: Apply again and review the completed result
- Check the result
- Troubleshooting
- Background and practical details
- Example sources
TESTED WORKED EXAMPLE
What this session produced
The practice label was applied in the bottom-left corner at 65% opacity and 5% relative text size. The final 1,600 × 1,065 JPG result was about 253.7 KB. The label says Practice edit rather than claiming authorship of the Pexels photo.
The screenshots were captured from our working tools on October 6, 2026. Focus workspace is used to give the controls and preview more room. Captures show either the full workspace or the relevant panel; they are not recreated interface illustrations. Sizes and outcomes describe this sample, not a promised result for every image.
Follow the worked example, step by step
Read the settings and the result together. Keep an untouched source when a file is edited, and check the finished output before using it in another application. Each numbered step below includes a real screenshot of the corresponding workspace state. Use the full-size link when a control label is too small on your screen.
Step 1: Open Add Watermark and choose an accurate label
Open Add Watermark. Use wording that honestly describes your role or identifies your own work. This example uses Practice edit on a licensed photograph, with the original photographer credited below. A visible text label does not verify the source or prevent editing, and it should not imply ownership of somebody else’s photograph.
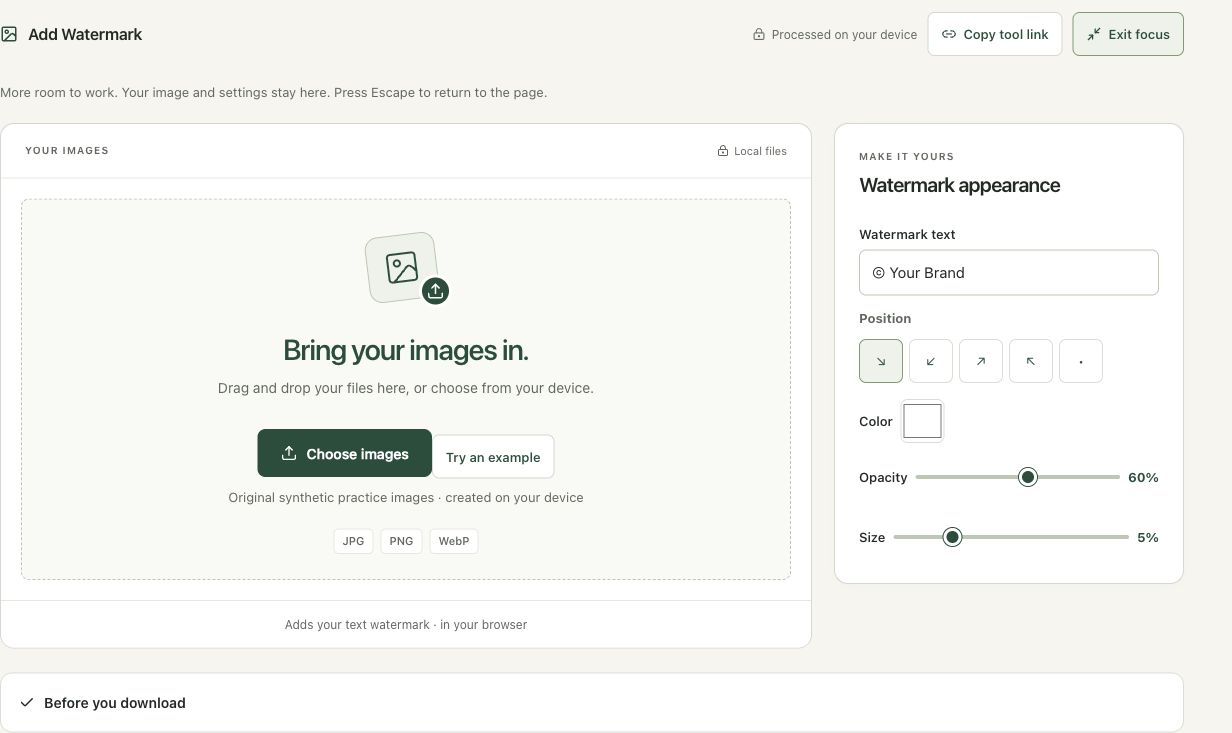
Step 2: Load the photo and apply the practice label
Choose the lake image, enter Practice edit and apply the settings. Inspect the generated result rather than assuming a changed textbox updates an old download. The initial placement is bottom right, opacity 60% and relative size 5%. Check whether the wording covers important scene detail and whether its color contrasts with the actual corner.
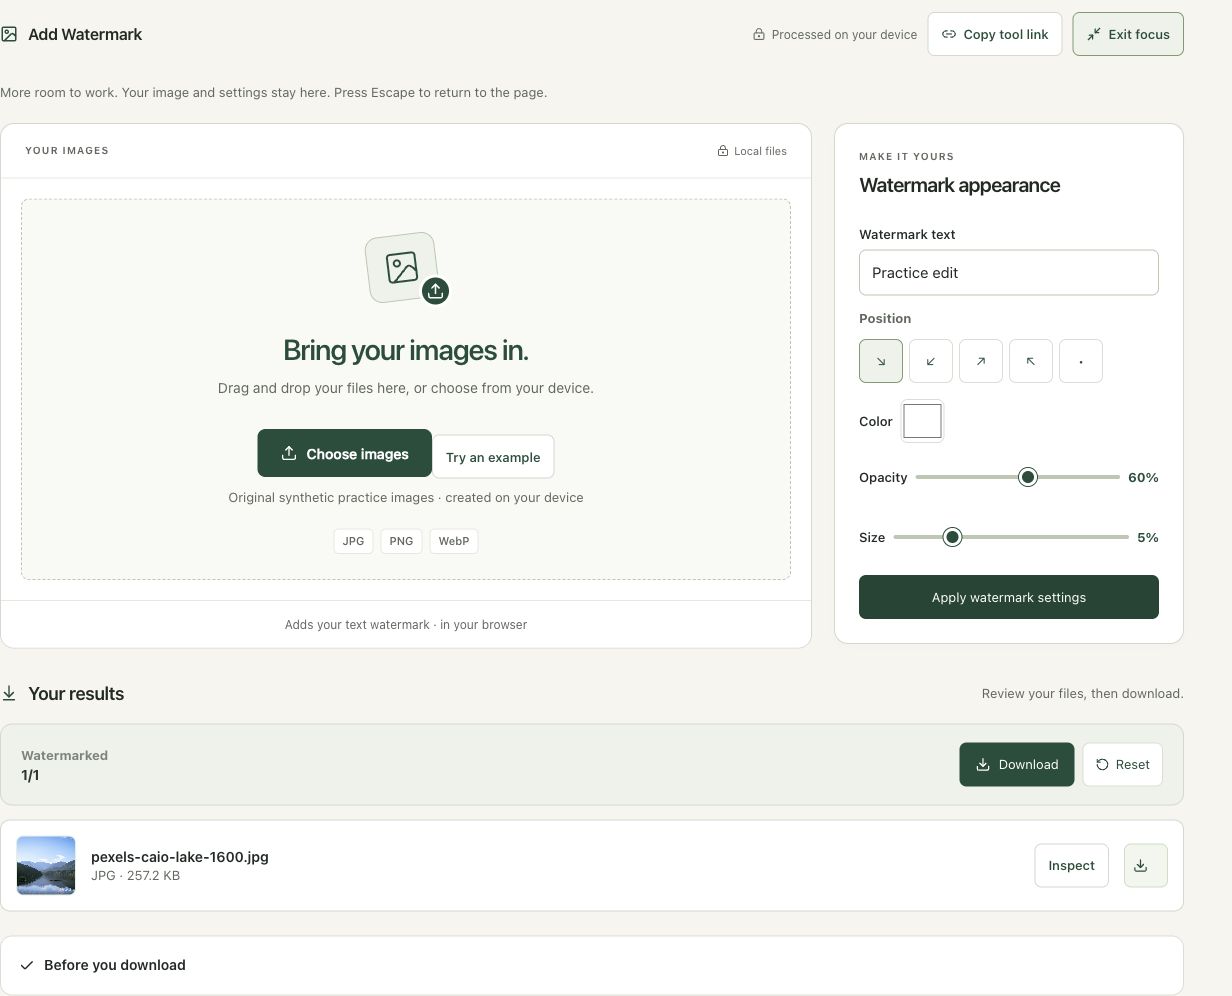
Step 3: Move the label left and increase opacity to 65%
Select bottom left and set opacity to 65%. Keep the relative text size at 5% for this example. The workspace warns that settings changed and must be applied again. This protects against downloading an old result with new-looking controls. Review placement on mixed-size batches individually instead of assuming one corner suits every photograph.
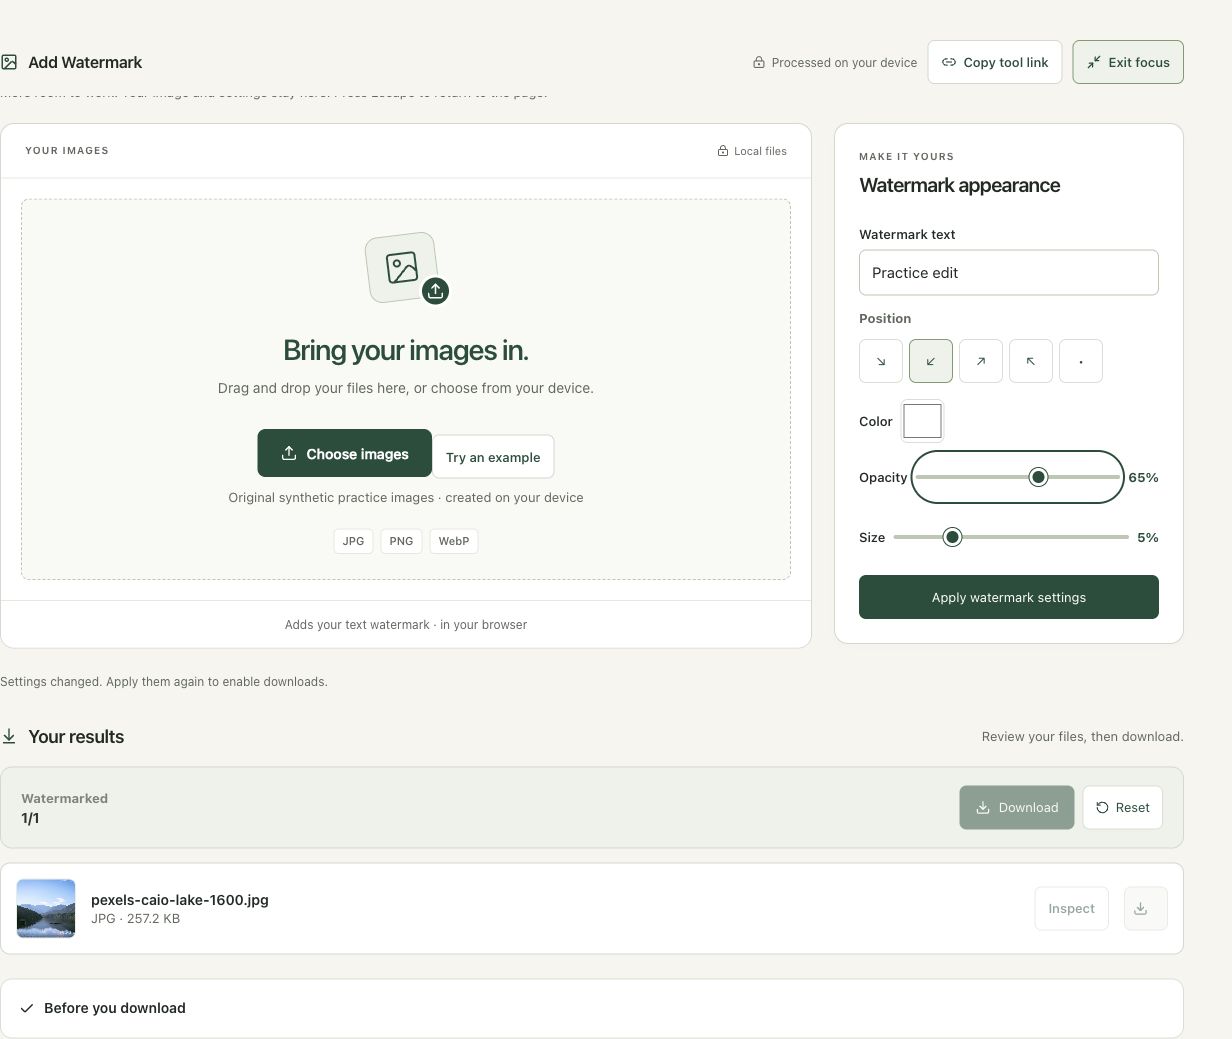
Step 4: Apply again and review the completed result
Choose Apply watermark settings, wait for the updated output, and use Inspect. The result row reports a JPG of about 253.7 KB at the original dimensions. Check the practice wording and corner, then download the image or batch. A larger file after adding text is normal; compositing and re-encoding are different from lossless storage optimization.

Check the result before using it
Check wording, position and contrast on every batch image. A visible watermark is part of the raster output, not invisible provenance or ownership verification. Adding a label does not transfer the photographer’s rights.
If the result is not what you expected
Changed settings disable downloads until applied again. Long text can extend beyond the image. Width-relative sizing makes the same percentage look different on mixed orientations. Use Meme Generator when a multiline caption and wrapping controls are needed.
Background and practical details
Choose an honest, concise label
Use a name or short label that accurately identifies your own image or a permitted editing role. A long line can dominate the picture and run beyond its edges. Start with the minimum useful wording rather than trying to put a full address or paragraph into the corner.
Adding a label does not grant ownership of somebody else’s work, verify where an AI image came from or create invisible provenance. Use images you own or have permission to edit. Keep the original unwatermarked source for your own future exports and distinguish it clearly from the sharing copy.
The position controls place the text relative to each image. A bottom-right label might suit a photo with an empty corner but cover a date, signature or product detail in another image. Review the collection individually rather than assuming one corner works for every composition.
Understand relative sizing
The text size is related to the image width, with a minimum font size in the renderer. A 5% setting on a 1,000-pixel-wide image gives a 50-pixel font size; on a 400-pixel-wide image it gives 20 pixels. Those figures describe the source-resolution render, not the final size when a website shrinks the image.
Mixed portrait and landscape files can therefore show different relationships between the label and subject. Inspect a narrow portrait and a wide landscape from the batch. If the same wording needs a different position or scale, process those cases separately rather than forcing an unsuitable common setting.
Review contrast without making the label intrusive
White text can disappear over a bright sky, while dark text can disappear in a shaded corner. The renderer adds a subtle shadow, but a shadow is not a substitute for checking the actual background. Adjust color and opacity together and preview at the size in which the sharing copy will be viewed.
Lower opacity can keep attention on the picture while also making the label harder to read. There is no universal percentage that is best for every scene. Test the smallest intended display and a full-resolution view. Check whether important subject detail remains understandable underneath or beside the label.
Watch long lines and changed settings
This workspace draws a text label rather than laying out a multiline document. Very long text may exceed the available width. Shorten it or reduce the size after reviewing the preview. Font appearance can depend on the device’s available fonts; the final image contains rendered pixels rather than an editable font layer.
Browser text rendering is described by MDN’s canvas fillText reference. The exact layout here comes from the workspace’s placement and sizing controls. Treat the downloaded picture as a finished raster composition.
Check the delivery copy
Open representative downloads from the batch ZIP. Confirm the wording, position, visible detail and output dimensions. The visible label becomes part of the image; this process is separate from metadata handling. For a long caption that needs wrapping and typography controls, use Meme Generator instead.
Keep an untouched source and inspect the downloaded result. If an instruction differs from the workspace, send the page URL and the setting involved. Our editorial policy explains how we review examples and limitations.
Example sources and screenshot notes
The example uses a resized 1,600 × 1,065 copy of Lake surrounded by green mountains by Caio.
These photographs are used under the Pexels license. They are licensed images, not claimed as public domain. The photographer links identify the original sources; resizing and example processing were performed for this tutorial.
The controls shown are from the version tested for this guide. A later interface update or a different source can change a result. Compare the displayed format, dimensions and status with the instructions, and report a mismatch with the article URL and the setting involved. Our editorial policy explains how examples and corrections are reviewed.
Find the right tool for your image.
Explore the free workspaces, read their methods and inspect your result before sharing.
Explore image tools