When a destination needs a different shape, changing the width and height independently can stretch the picture. A crop changes the composition by removing edges. Plan the shape first, then decide the final pixel dimensions.
- The tested example
- Step 1: Open Crop Image and decide what must remain visible
- Step 2: Load the photo and identify its source pixel grid
- Step 3: Enter an 800 × 800 crop at the tested position
- Step 4: Apply the crop and verify the new dimensions
- Check the result
- Troubleshooting
- Background and practical details
- Example sources
TESTED WORKED EXAMPLE
What this session produced
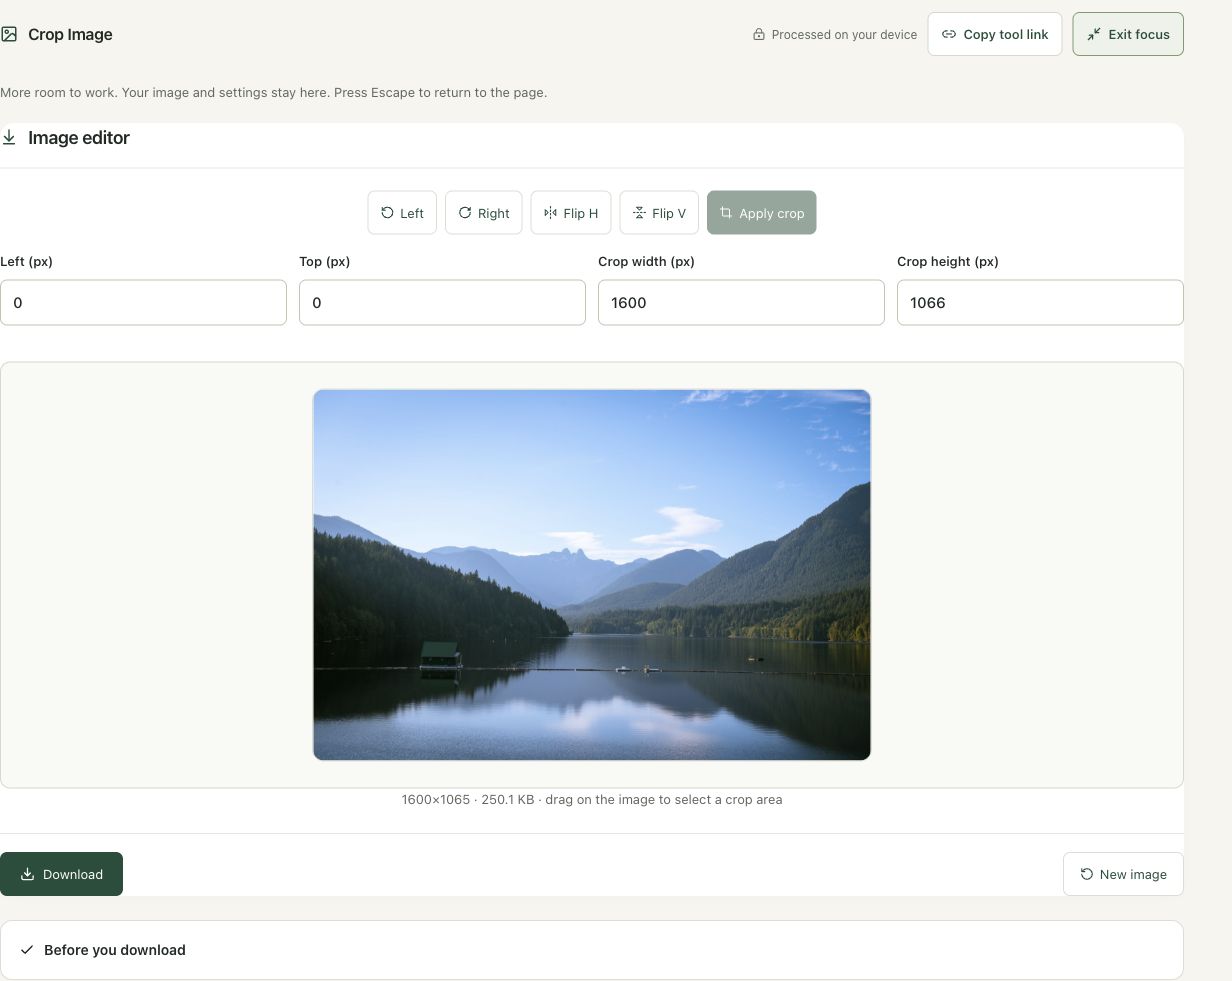
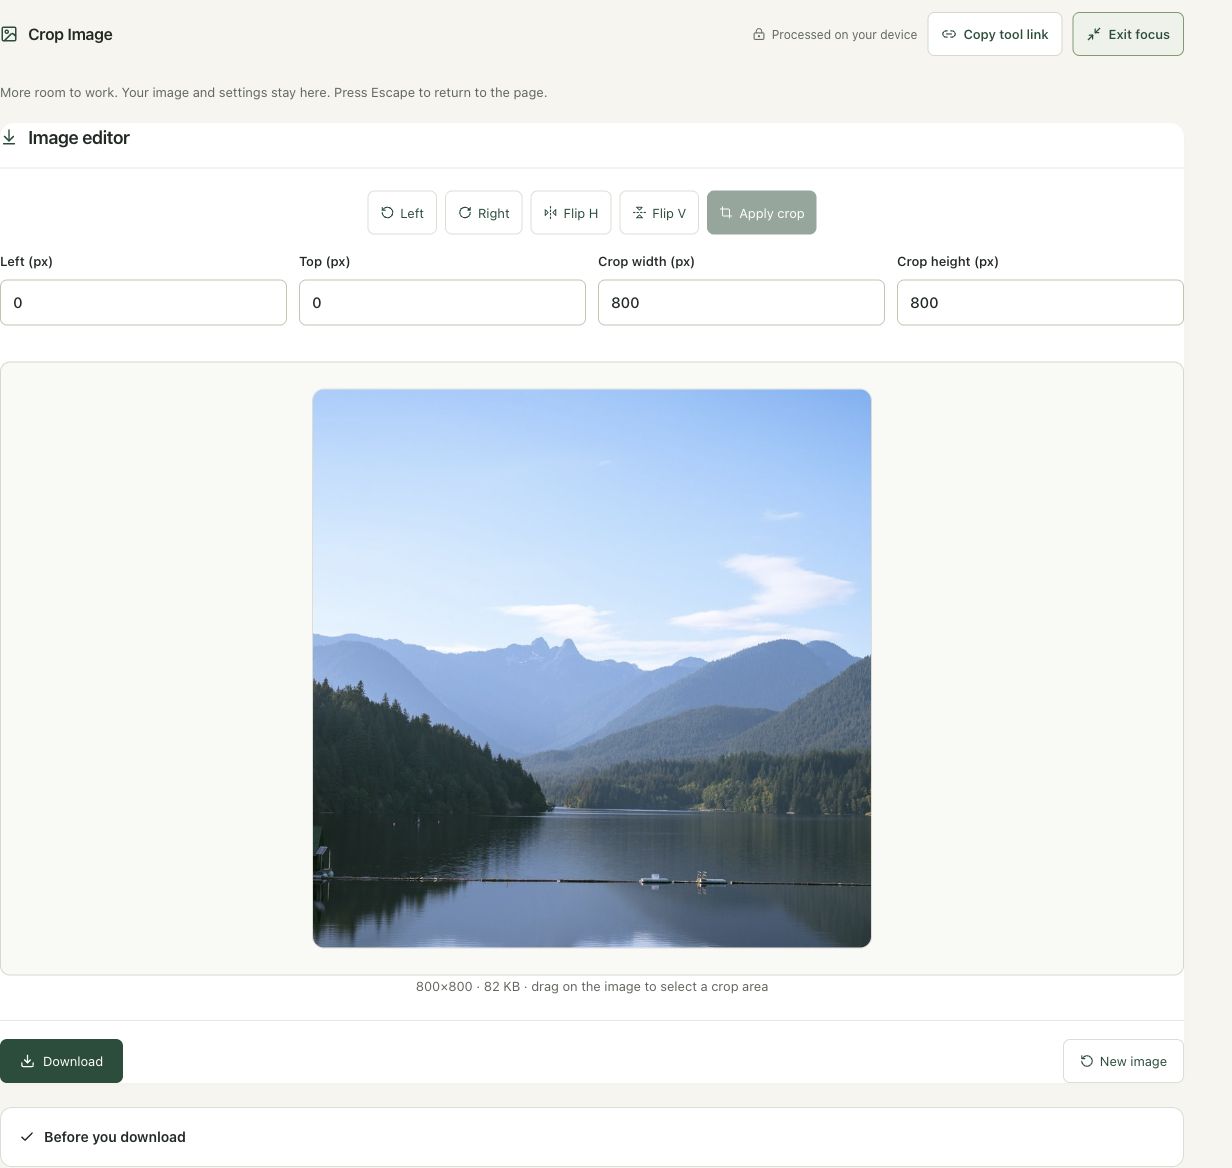
A rectangle starting at left 400, top 100, with width 800 and height 800 produced an 800 × 800 square from the 1,600 × 1,065 lake photograph. This session’s export was about 82 KB.
The screenshots were captured from our working tools on October 6, 2026. Focus workspace is used to give the controls and preview more room. Captures show either the full workspace or the relevant panel; they are not recreated interface illustrations. Sizes and outcomes describe this sample, not a promised result for every image.
Follow the worked example, step by step
Read the settings and the result together. Keep an untouched source when a file is edited, and check the finished output before using it in another application. Each numbered step below includes a real screenshot of the corresponding workspace state. Use the full-size link when a control label is too small on your screen.
Step 1: Open Crop Image and decide what must remain visible
Open Crop Image when changing the composition or aspect ratio. Identify the subject and any text that must remain inside the final frame. This example creates a square while retaining the center of a wide lake scene. A proportional resize alone would keep the original wide shape. Adding a canvas instead would retain more of the source scene.
Step 2: Load the photo and identify its source pixel grid
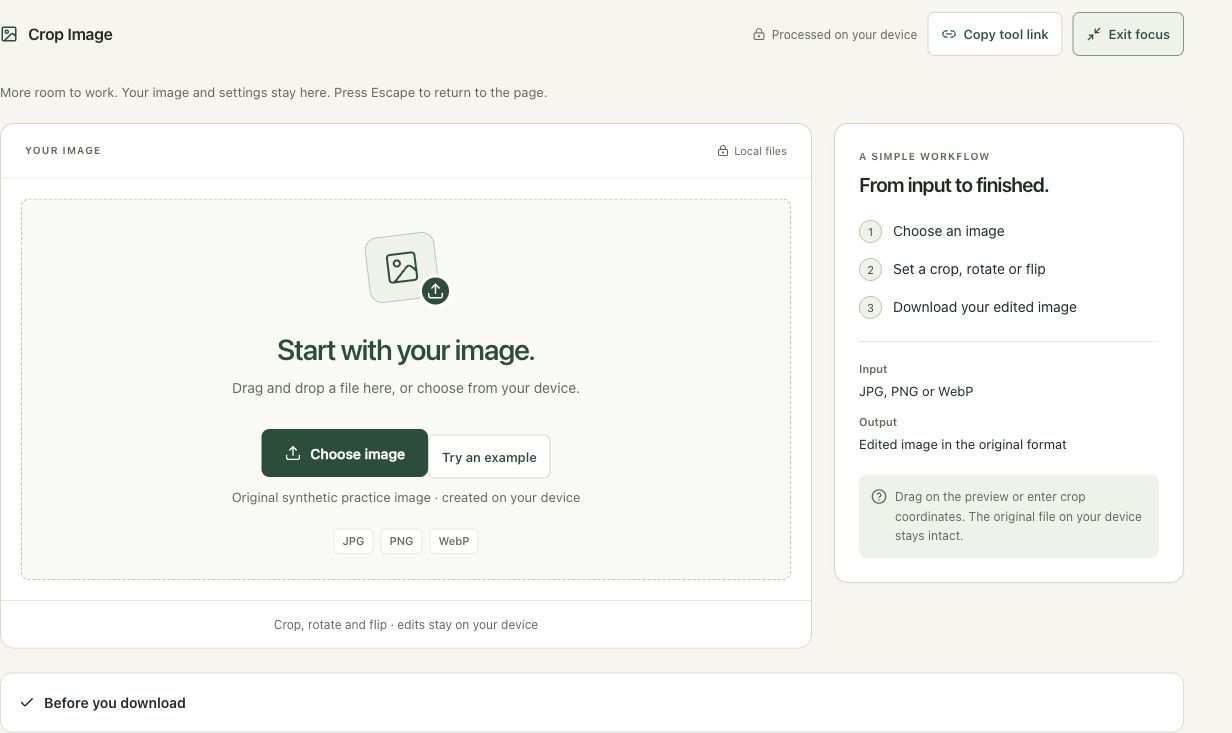
Choose the 1,600 × 1,065 lake JPG. Read the dimensions before entering a selection. The preview may be fitted to the editor, but the numeric controls use source pixels. A drag selection is useful for exploration; numeric coordinates are better when a destination expects an exact rectangle. Keep the original available because cropped-away content cannot be recovered from the output.
Step 3: Enter an 800 × 800 crop at the tested position
Set Crop width to 800, Crop height to 800, Left to 400 and Top to 100. This rectangle fits inside the source and leaves a 100-pixel strip above the selected square. Review the visible selection rather than assuming a centered crop always keeps the important subject. Different photographs can require a different position even when their dimensions match.
Step 4: Apply the crop and verify the new dimensions
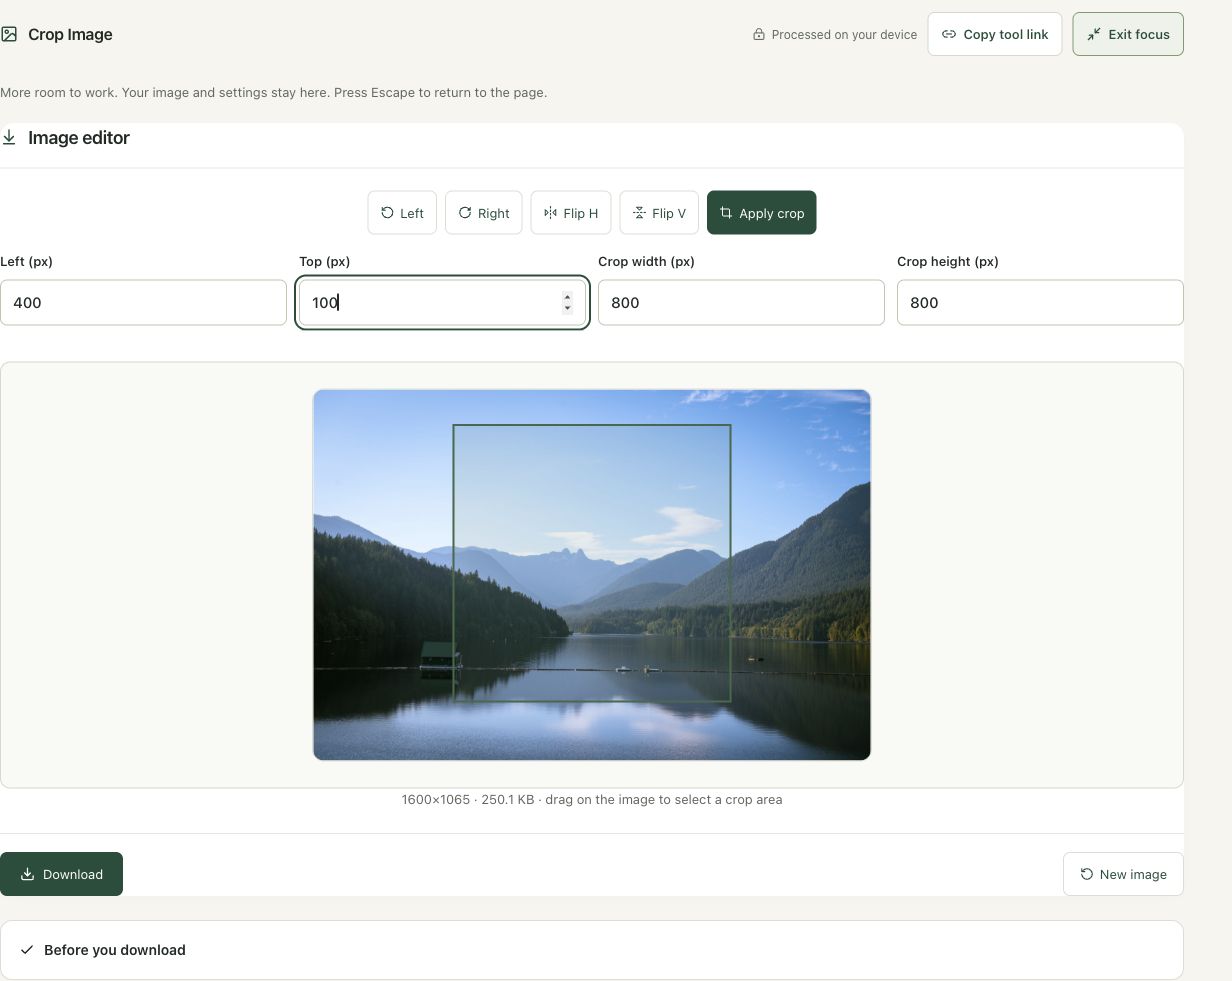
Choose Apply crop and read the updated output dimensions: 800 × 800 in this session. Check that the shoreline and mountains still look proportional. Download the finished square and resize that copy afterward if a smaller square is required. Repeated JPG edits can introduce additional encoding changes, so avoid a long chain of unnecessary crop-and-save operations.
Check the result before using it
Check the retained subject and every edge of the downloaded square. Cropping removes content; it does not squeeze the original rectangle into a new shape. Keep the original if you may need a wider composition later.
If the result is not what you expected
A rectangle must fit inside the image. The tool clamps out-of-bounds coordinates. Each applied edit becomes the current image, so a second crop uses the already cropped source. Start again from the original when changing the intended composition substantially.
Background and practical details
Separate shape from size
Aspect ratio describes width relative to height. A 1,800 × 1,200 image has a 3:2 ratio. A 600 × 600 image is square, or 1:1. Resizing the original proportionally to 600 pixels wide produces 600 × 400, which is still 3:2. Forcing that result to 600 × 600 changes the shape of everything in the scene.
Cropping chooses a rectangle inside the original. The retained subject keeps its proportions, but anything outside the rectangle disappears. If the entire scene must remain visible inside a square, use a layout that adds space around it instead. Decide whether the requirement means fill the frame or preserve all the content before editing.
Calculate a centered square
For a 1,800 × 1,200 source, the largest square is 1,200 × 1,200. A centered crop removes 600 pixels in total from the width: 300 on the left and 300 on the right. The crop therefore starts at left 300, top 0. This is a geometry example, not a recommendation to center every subject. A face near one edge may need a different position.
Selections must fit inside the current image. The workspace clamps a rectangle that would run beyond an edge. Check the displayed fields after changing the position; a previously valid width may no longer fit. The crop controls are numeric and free-form, so calculate a required ratio rather than assuming that dragging automatically locks one.
Plan wider crops the same way
To keep the full width of a 1,800 × 1,200 image in a 16:9 rectangle, the height would be 1,800 × 9 / 16 = 1,012.5 pixels. Raster output needs whole pixels. Choosing 1,792 × 1,008 gives an exact 16:9 rectangle that fits inside the source. Centered, it starts at left 4 and top 96. Then a proportional resize to 896 × 504 retains that exact ratio.
For another source, first calculate whether width or height limits the rectangle. Rounded dimensions can introduce a small ratio difference, so review the final output if the destination strictly validates pixels. Do not invent a universal social-media size: use the destination’s current specification.
Check rotation, edges and export quality
The same workspace offers Left, Right, Flip H and Flip V. Rotating a landscape image by a quarter turn swaps its width and height. Perform the needed orientation change before calculating a crop. A flip mirrors the content; it can make printed text unreadable even when the dimensions look correct.
Each applied edit becomes the current image. To recover removed content, start again from the original rather than enlarging the crop. PNG export preserves the decoded pixels of the retained area. JPG and WebP exports use lossy encoding in this editor, so inspect small text and fine edges. Animated sources are treated as a decoded still frame.
The MDN format guide explains the format capabilities. Read our resize versus compression guide when the destination also imposes a byte limit.
Keep your original files and check the actual download. If an instruction no longer matches the workspace, send us the page URL and a description. Our editorial policy explains how we document examples and limitations.
Example sources and screenshot notes
The example uses a resized 1,600 × 1,065 copy of Lake surrounded by green mountains by Caio.
These photographs are used under the Pexels license. They are licensed images, not claimed as public domain. The photographer links identify the original sources; resizing and example processing were performed for this tutorial.
The controls shown are from the version tested for this guide. A later interface update or a different source can change a result. Compare the displayed format, dimensions and status with the instructions, and report a mismatch with the article URL and the setting involved. Our editorial policy explains how examples and corrections are reviewed.
Find the right tool for your image.
Explore the free workspaces, read their methods and inspect your result before sharing.
Explore image tools