Background removal estimates which pixels belong to a subject. A useful cutout needs more than an empty background: its silhouette, fine details and soft edges must work in the intended design.
- The tested example
- Step 1: Open the AI cutout workspace and choose a clear subject
- Step 2: Load the portrait flower and inspect its outline
- Step 3: Select the compact model and keep a transparent composition
- Step 4: Inspect the cutout on Dark and export transparent PNG
- Check the result
- Troubleshooting
- Background and practical details
- Example sources
TESTED WORKED EXAMPLE
What this session produced
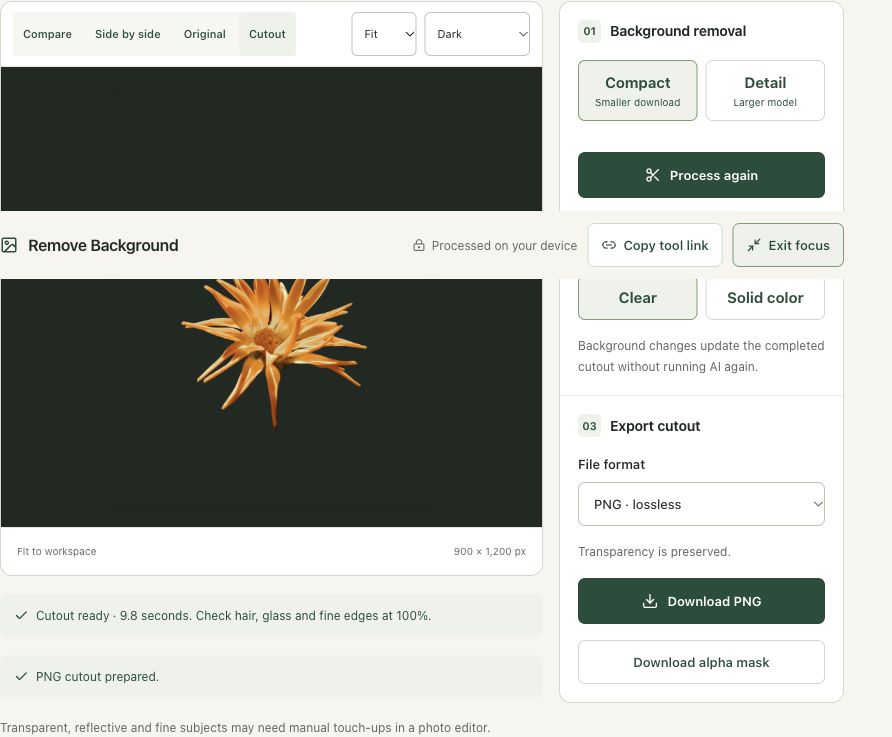
The compact model produced a cutout from the 900 × 1,200 flower photograph. The finished cutout was inspected on a dark preview background and exported as transparent PNG. A preview-background change does not add a dark background to the PNG.
The screenshots were captured from our working tools on October 6, 2026. Focus workspace is used to give the controls and preview more room. Captures show either the full workspace or the relevant panel; they are not recreated interface illustrations. Sizes and outcomes describe this sample, not a promised result for every image.
Follow the worked example, step by step
Read the settings and the result together. Keep an untouched source when a file is edited, and check the finished output before using it in another application. Each numbered step below includes a real screenshot of the corresponding workspace state. Use the full-size link when a control label is too small on your screen.
Step 1: Open the AI cutout workspace and choose a clear subject
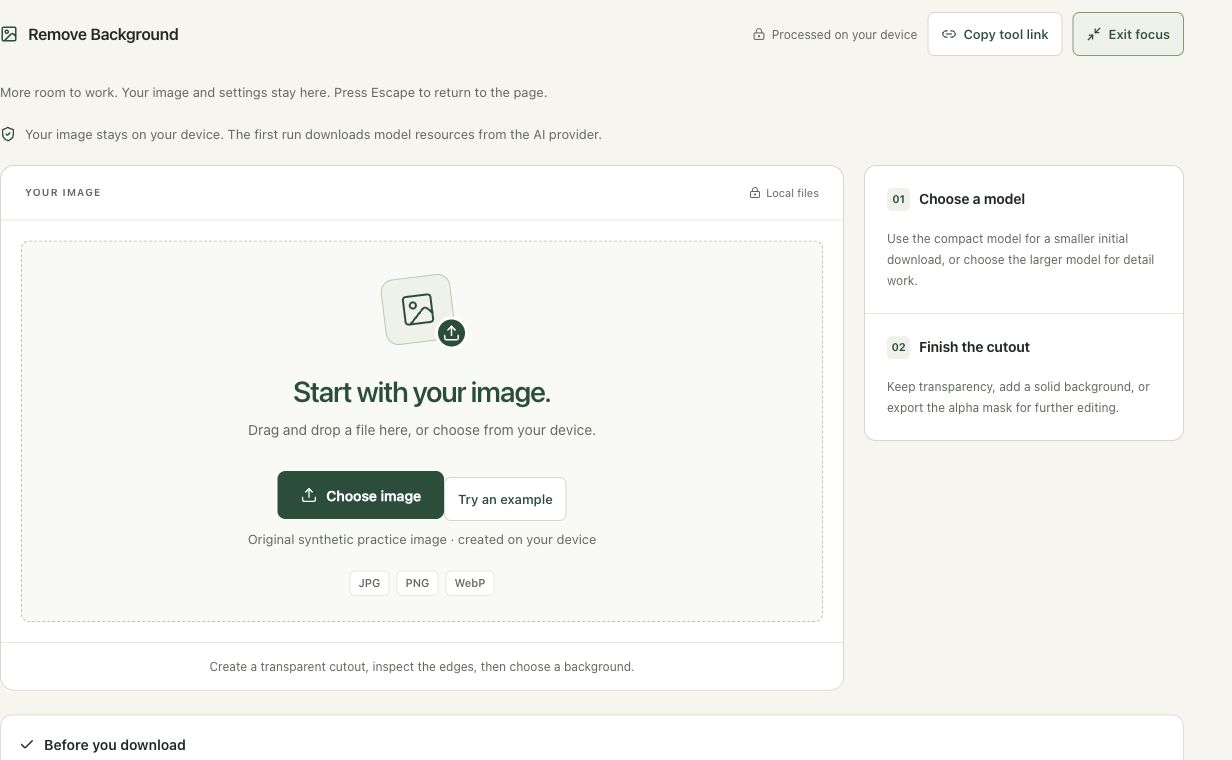
Open Remove Background. Start with a photograph whose intended foreground is reasonably clear, and keep the original. This example uses a flower with visible petal edges. Processing stays on the device, while the first run downloads model resources. A connection is therefore needed for resource loading even though the photograph is not uploaded for inference.
Step 2: Load the portrait flower and inspect its outline
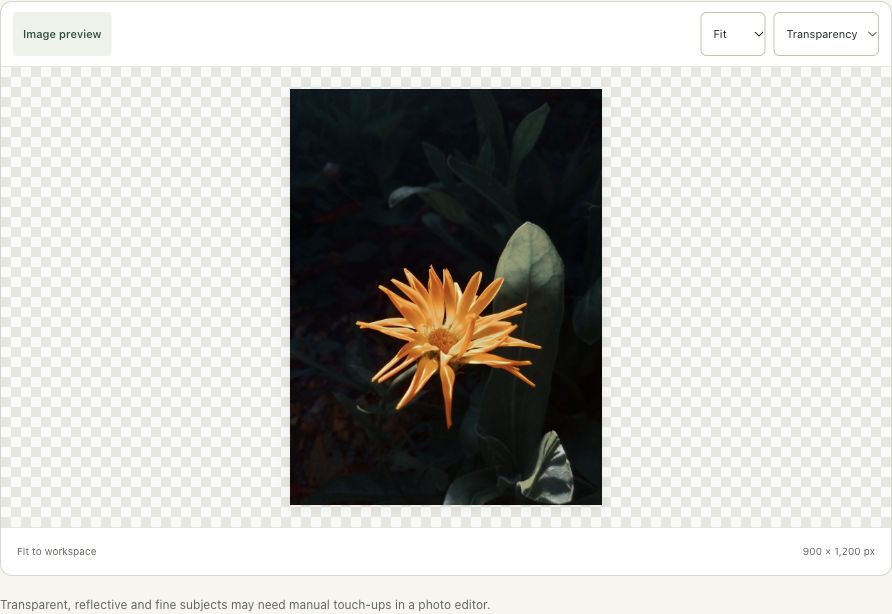
Choose the 900 × 1,200 flower JPG. Check the petals, leaves and dark background before running the model. Identify difficult gaps and fine edges so you can review those same areas afterward. A successful whole-image preview can still hide missing details. The model estimates a subject boundary rather than understanding which decorative elements you intend to preserve.
Step 3: Select the compact model and keep a transparent composition
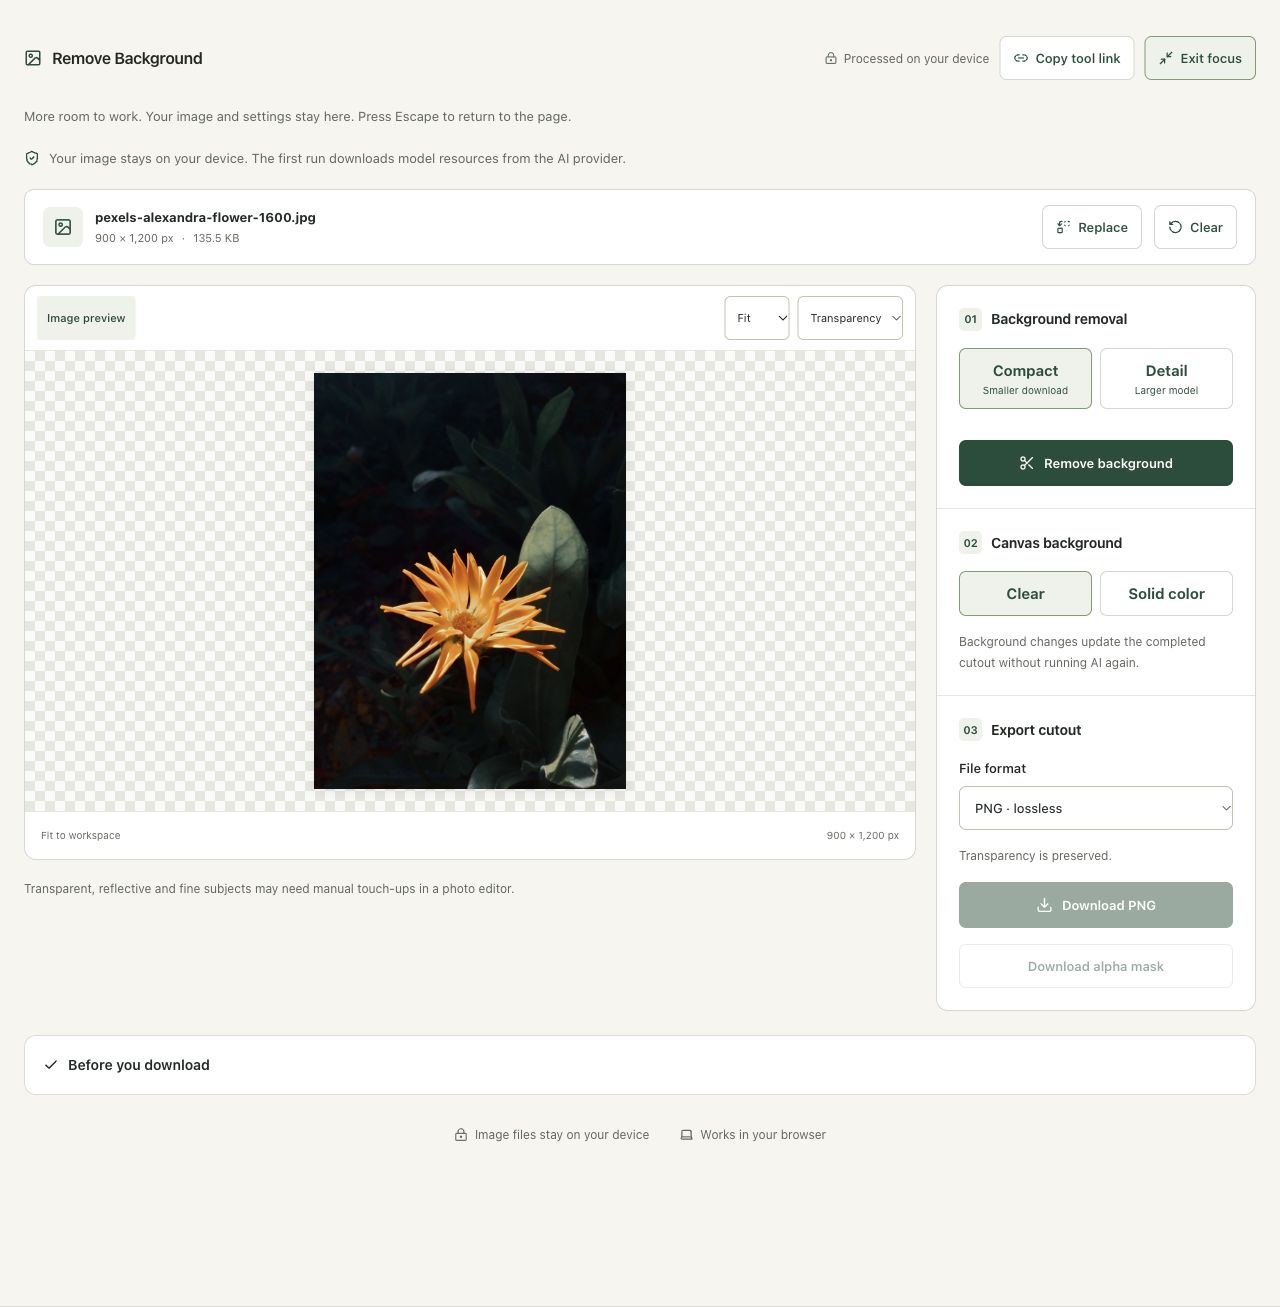
Keep Compact selected and Clear as the cutout background, then choose Remove background. Wait for local processing to finish. Compact uses a smaller initial model download than the detail option, but model size is not a guarantee of accuracy on this scene. Choose PNG for an alpha-preserving delivery copy and inspect the result before changing the composition.
Step 4: Inspect the cutout on Dark and export transparent PNG
Choose Cutout and use Dark in Preview background. This helps reveal pale fringes around the petals without adding that dark surface to the file. Review the edge, then choose Download PNG and wait for completion. Check the exported transparency in another viewer or the alpha checker. Preserve the source for another model attempt or manual refinement.
Check the result before using it
Inspect petal tips, gaps and the interior of the subject. Natural edges, reflections and similar colors can confuse segmentation. Check the exported PNG on the background where it will actually be used, not only the checkerboard in the editor.
If the result is not what you expected
The first run can require model-resource downloads. The compact and detail models can produce different mistakes; a larger model is not a universal accuracy guarantee. A cutout can need manual touch-ups. A grayscale alpha-mask export is a separate editing aid, not the colored subject.
Background and practical details
Choose a source with a clear subject
A sharply focused subject against a distinguishable background is a useful starting point. Hair, glass, reflections, overlapping objects and similar foreground and background colors can make the boundary ambiguous. The model’s output is an estimate. It cannot know which decorative shadow or object you intended to retain in every scene.
Keep the highest-quality original. A heavily compressed sharing copy can introduce edge artifacts before background removal begins. Avoid repeatedly cutting out an already edited copy. Comparing attempts from the same source makes it easier to identify whether a model choice helped or merely changed the mistakes.
The compact model uses a smaller initial resource download; the larger option is available for another detail-work attempt. A larger model is not a guarantee of a better result for every picture. Test a difficult edge rather than choosing solely by the model’s label.
Inspect small areas before judging the whole image
Use the comparison and zoom to inspect the subject outline. Look around hair, fingers, thin straps, transparent objects and gaps between parts of the subject. Also check the interior: a model can remove a patch that happens to resemble the backdrop. A good-looking fitted preview can hide these errors.
Check both light and dark background choices. A pale fringe may disappear on white and become obvious on dark green. A dark leftover strip can behave the opposite way. Judge the cutout on its intended destination background too, since an acceptable edge in one composition can look distracting in another.
Choose transparency or a finished background
Keep transparency for an asset that will be placed into another design. Choose a solid background when the exported file is already meant to be a complete composition. PNG is a straightforward choice for a transparent delivery file. A JPG export needs a visible backing color and cannot retain alpha transparency.
The alpha-mask export is a separate grayscale editing aid that represents the retained opacity. It is not the same as the colored subject cutout and does not automatically correct the model’s outline. Preserve the source and cutout together if another editor will refine the mask later.
Understand resource loading and limits
The image is processed on your device. The first run downloads model resources from the AI provider, so a network connection and browser memory still matter. A delayed first attempt can be resource loading rather than image upload. Cancellation can stop the supported stages; follow the current progress controls.
This workspace uses IMG.LY’s browser background-removal library. Its browser implementation supports local image processing, but that does not make every image an easy segmentation problem. If removal fails, check the resource connection, retry a smaller working copy or use Color Background Removal for an appropriate flat-color source. The latter is a different method with different limitations.
Keep an untouched source and inspect the downloaded result. If an instruction differs from the workspace, send the page URL and the setting involved. Our editorial policy explains how we review examples and limitations.
Example sources and screenshot notes
The example uses a resized 900 × 1,200 copy of Close-up shot of orange flower by Alexandra Diniz.
These photographs are used under the Pexels license. They are licensed images, not claimed as public domain. The photographer links identify the original sources; resizing and example processing were performed for this tutorial.
The controls shown are from the version tested for this guide. A later interface update or a different source can change a result. Compare the displayed format, dimensions and status with the instructions, and report a mismatch with the article URL and the setting involved. Our editorial policy explains how examples and corrections are reviewed.
Find the right tool for your image.
Explore the free workspaces, read their methods and inspect your result before sharing.
Explore image tools